
For metrology lab supervisors and quality control engineers, a granite surface plate is more than equipment—it’s the foundation of your precision measurement system. Yet even Grade 00 granite plates can lose their superior flatness if installed incorrectly. This comprehensive guide reveals the five critical steps to ensure your granite surface plate installation maintains its factory-grade accuracy for years.
Understanding the Stakes: Why Granite Surface Plate Installation Matters
A properly installed Grade 00 granite surface plate delivers flatness accuracy within 0.0001 inches (2.5 micrometers) per square foot. However, improper installation can compromise this precision, leading to measurement errors that cascade through your entire quality control process. Whether you’re establishing a new metrology lab or upgrading existing equipment, following industry-standard installation procedures is non-negotiable.
Step 1: Site Assessment and Foundation Preparation
Before delivery, assess your installation site carefully. Grade 00 granite plates require:
- Vibration isolation: Install away from heavy machinery, compressors, or high-traffic areas. Even minimal vibration can affect measurements at the micron level.
- Temperature stability: Maintain consistent temperature (68°F ± 2°F / 20°C ± 1°C) with minimal fluctuations. Granite expands and contracts with temperature changes, temporarily affecting flatness.
- Load-bearing capacity: Ensure your floor or workbench can support the granite plate’s weight plus expected measurement loads. A 24″ x 36″ Grade 00 plate typically weighs 400-600 pounds.
- Level surface: The supporting surface must be level within 0.001″ (25 micrometers) before plate installation.
Step 2: Proper Support System Selection
The support system is crucial for granite surface plate installation and long-term stability:
- Three-point support: Use three leveling screws arranged in an isosceles triangle pattern. This prevents plate warping caused by uneven support pressure.
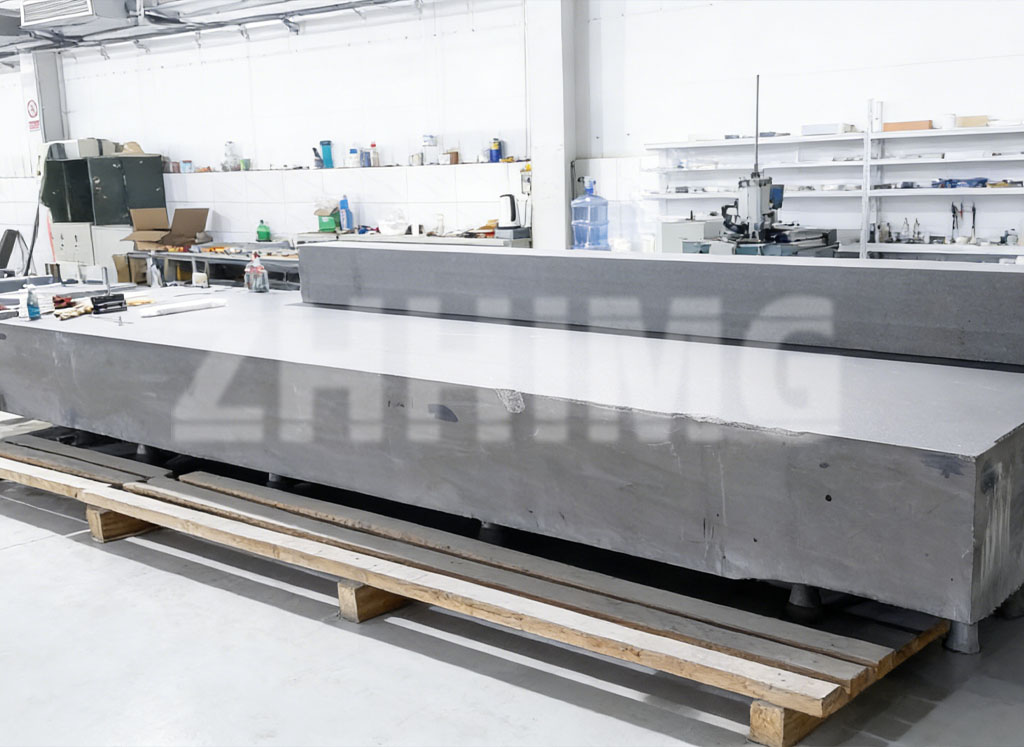
- Rigid stands: Choose steel or cast iron stands designed specifically for granite plates. Avoid wooden supports that can warp or compress over time.
- Damping materials: Place vibration-damping pads between the stand and floor if needed, but never between the stand and granite plate.
Step 3: Precision Leveling Procedure
Proper leveling is the most critical step in granite surface plate installation:
- Initial positioning: Place the granite plate on the support stand carefully, ensuring all three leveling screws make contact.
- Rough leveling: Use a precision level (accuracy ±0.0005″ per division) to achieve approximate level.
- Fine leveling: Gradually adjust the leveling screws, checking level readings at multiple plate locations. Target level within 0.0001″ (2.5 micrometers) across the entire surface.
- Stabilization period: Allow 24-48 hours for the granite to settle before proceeding to flatness calibration.
Step 4: Flatness Calibration and Verification
After leveling, verify that your granite surface plate maintains Grade 00 accuracy through flatness calibration:
- Equipment needed: Electronic levels, precision straightedges, autocollimators, or laser interferometers.
- Measurement grid: Divide the plate surface into a systematic grid (e.g., 3″ x 3″ or 100mm x 100mm intervals).
- Data collection: Record height variations at each grid point using your chosen calibration equipment.
- Analysis: Compare collected data against Grade 00 specifications. Flatness should not exceed 0.0001″ per square foot.
- Documentation: Maintain calibration records with date, equipment used, and certification status.
Step 5: Ongoing Maintenance and Calibration Schedule
Even perfect granite surface plate installation requires regular maintenance to preserve Grade 00 accuracy:
- Cleanliness protocol: Clean the plate surface after each use with approved solvents. Never use abrasives or harsh chemicals.
- Cover protection: Use protective covers when not in use to prevent dust accumulation and accidental damage.
- Regular calibration: Schedule professional calibration annually or bi-annually depending on usage intensity.
- Environmental monitoring: Continuously track temperature and humidity levels in your metrology lab.
- Support inspection: Check leveling screws and stands annually for wear or settling.
Common Installation Mistakes to Avoid
Based on industry data, these granite surface plate installation errors compromise accuracy most frequently:
- Insufficient settling time: Starting calibration before the granite stabilizes, leading to false readings.
- Over-tightening leveling screws: Creating stress points that warp the plate over time.
- Ignoring thermal expansion: Failing to account for temperature changes during measurements.
- Using inadequate stands: Employing lightweight or flexible supports that don’t provide proper rigidity.
- Neglecting maintenance: Skipping regular cleaning and calibration schedules.
ROI Impact: Quality vs. Cost Considerations
Investing in proper granite surface plate installation delivers significant returns:
- Reduced measurement errors: Proper installation minimizes measurement uncertainty by up to 40%.
- Extended equipment life: Grade 00 plates can last 20+ years with proper installation and maintenance.
- Improved product quality: Accurate measurements prevent defective products from reaching customers.
- Compliance assurance: Proper documentation supports ISO 9001, ISO 17025, and other quality system requirements.
Conclusion: Foundation of Precision
Your granite surface plate is the foundation of precision measurement in your metrology lab. Following these five granite surface plate installation steps ensures that your Grade 00 accuracy remains consistent, supporting reliable quality control processes and maintaining your reputation for precision excellence.
For professional consultation on granite surface plate installation, flatness calibration services, or precision measurement equipment, contact our metrology specialists today.
Post time: Mar-24-2026