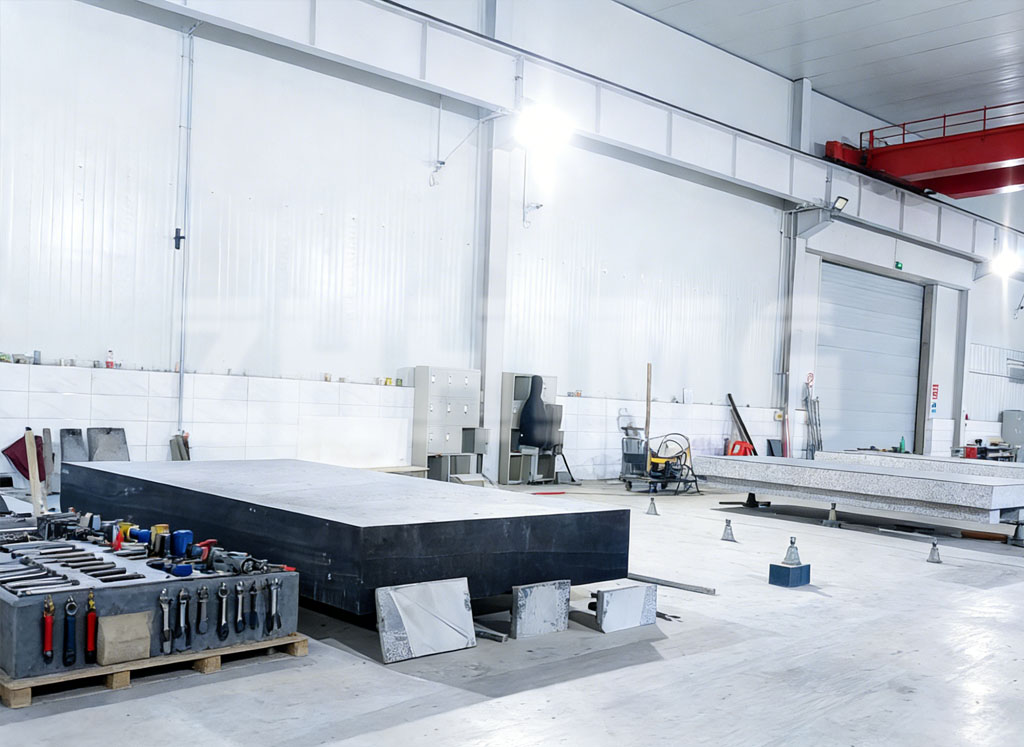
In the high-stakes world of precision manufacturing—where industries like semiconductor lithography and aerospace turbine production operate—accuracy is no longer measured in millimeters, but in nanometers. At this level, the physical stability of the inspection platform and the motion system dictates the ultimate yield. For global OEMs, the choice of inspection tools for machining and the rigor of certification for precision straight edges are the primary safeguards against catastrophic failure in the assembly line.
The Essential Arsenal: Inspection Tools for High-Performance Machining
To achieve “First Part, Right Part” status, a facility must be equipped with more than just high-end CNC machines. The secondary layer of defense is the metrology suite. In 2026, the industry has seen a massive move toward digital integration.
Wireless digital micrometers, optical tool presetters, and high-sensitivity dial test indicators are now standard. However, these tools are only as accurate as the reference they rest upon. This is why the Granite Surface Plate remains the most critical inspection tool in any machine shop. Unlike cast iron, granite does not rust and possesses a “dead” weight that dampens ambient floor vibrations, providing a truly neutral plane for vertical height gauges and bore inspection systems.
Ensuring Compliance: The Importance of Certification for Precision Straight Edges
For a manufacturer to supply the aerospace or medical sectors, “claiming” accuracy is insufficient; they must “prove” it. This proof is codified through certification for precision straight edges. In the European market, the DIN 874 standard is the benchmark for straightness, while North American markets often look for NIST traceability.
Certification involves a rigorous process where the straight edge is compared against a primary master in a temperature-controlled laboratory (usually 20℃ ± 0.1℃. At ZHHIMG, our certification process adheres to ISO/IEC 17025 standards. This ensures that a Grade 00 granite straight edge—the highest laboratory grade—has a straightness deviation so small it is measured in mere fractions of a micron per meter. Without this paper trail, a precision tool is simply a piece of stone; with it, it is a legally defensible standard of truth.
The Great Motion Debate: Air Bearing Stage vs. Granite Mechanical Stage
When designing the motion architecture of a CMM or a wafer inspection system, engineers often reach a crossroads: Compare Air Bearing Stage and Granite Stage (mechanical bearing). Both utilize a precision granite base for its thermal stability and damping properties, but they diverge in their execution of movement.
The Mechanical Granite Stage:
This system uses high-precision roller or ball bearings on a granite guide. It is robust, can handle significant payloads, and is generally more cost-effective. It is ideal for high-impact machining where high stiffness and load capacity are the primary requirements. However, mechanical bearings introduce “rumble”—high-frequency noise caused by the recirculating elements.
The Air Bearing Stage:
In an air bearing system, the moving carriage “floats” on a thin film of pressurized air (typically 5μm to 10μm thick). Because there is zero physical contact between the carriage and the granite way, friction is virtually eliminated. This allows for:
-
Nanometer Repeatability: The absence of “stiction” means the stage can move in increments as small as the encoder can resolve.
-
Zero Wear: Since there is no contact, the accuracy of the stage remains identical after billions of cycles.
-
Surface Averaging: The air film acts as a “buffer,” averaging out any microscopic imperfections in the granite surface to provide a straighter travel than a mechanical contact could ever achieve.
Why Integration is the Key to Precision
ZHHIMG Group specializes in the integration of these technologies. We don’t just provide a granite block; we provide the Precision Granite Machine Base equipped with integrated guide rails and motion systems. For the semiconductor industry, our air-bearing-on-granite solutions are the standard for 24/7 wafer scanning operations. The combination of the “thermal inertia” of Jinan Green granite and the “frictionless glide” of air bearings creates a platform that is insensitive to environmental noise and mechanical fatigue.
Conclusion: Foundations of the Future
Whether you are selecting a suite of inspection tools for machining or designing a next-generation nanopositioning stage, the quality of the foundation is your limiting factor. As we move deeper into the era of micro-electronics and sub-micron metrology, the fusion of natural material stability and advanced pneumatic motion will continue to be the bedrock of industrial progress.
Post time: Feb-02-2026

