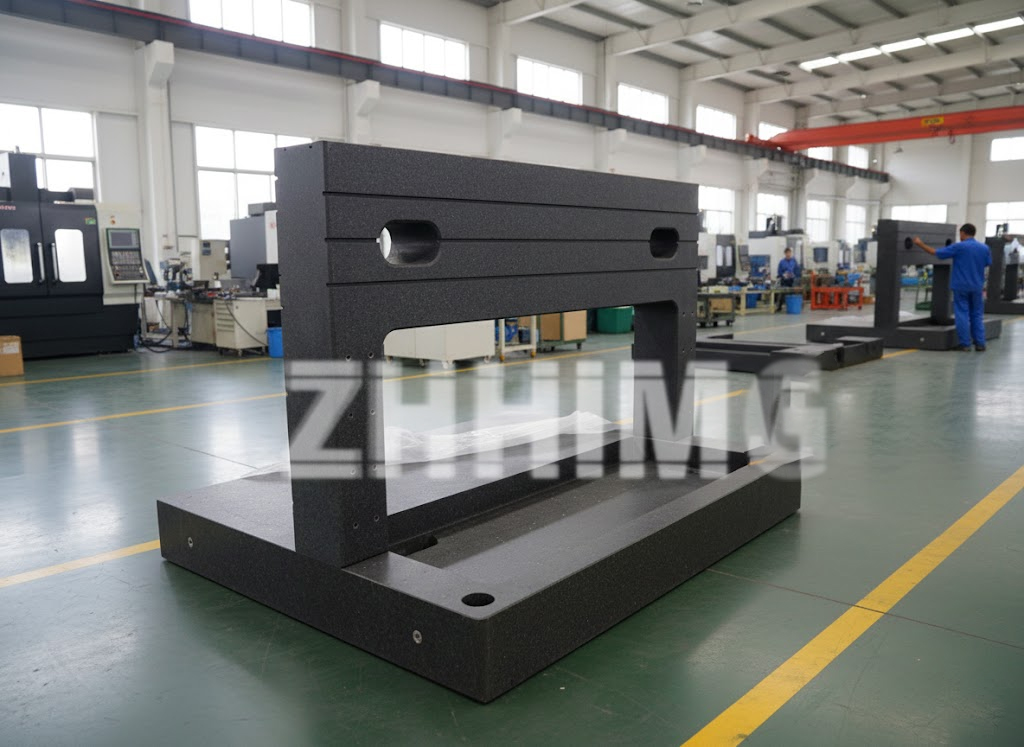
The precision granite platform is the backbone of high-stakes metrology and manufacturing, prized for its unparalleled dimensional stability and dampening capacity. However, even the robust ZHHIMG® Black Granite—with its high density (≈ 3100 kg/m³) and monolithic structure—is not entirely impervious to catastrophic external forces. An accidental drop, a heavy tool impact, or a significant localized stress event can compromise the platform’s integrity, potentially introducing internal fissures or altering its meticulously achieved nanometer-level surface flatness.
For operations committed to quality, the immediate question following an incident is critical: How do we accurately determine if an impact has resulted in a hidden internal crack or a measurable surface deformation, rendering the reference plate unreliable?
At ZHONGHUI Group (ZHHIMG®), a global leader in providing certified Precision Granite Components and a company built on the commitment to “No cheating, No concealment, No misleading,” we advocate for a systematic, expert-driven assessment. This process moves beyond a simple visual check and employs advanced metrology techniques to guarantee the continued accuracy of your investment.
Phase 1: Immediate Visual and Tactile Inspection
The first response must always be a detailed, non-destructive assessment of the impacted area and the platform as a whole.
The high-density structure of a quality granite surface plate means that an impact that causes surface chipping may also have propagated a stress wave internally.
Start with the following:
-
Impact Site Examination: Use a bright, focused light source and a magnifying glass to meticulously inspect the point of impact. Look not only for obvious chipping or flaking but also for subtle, hair-thin lines radiating outwards. A surface fissure is a clear indication that a deeper internal crack may exist.
-
The Dye Penetrant Test (Non-Granite Method): While not standard for granite, a small amount of low-viscosity, non-staining oil (often the oil used for cleaning metallic tools nearby) applied to the suspect area can sometimes be wicked into micro-fissures by capillary action, making them temporarily visible. Caution: Ensure the granite is thoroughly cleaned immediately afterward, as chemicals can compromise the surface.
-
Acoustic Tap Test: Gently tap the granite surface—particularly around the area of impact—with a small, non-marring object (like a plastic hammer or coin). A solid, sharp sound indicates material homogeneity. A dull, muffled, or “dead” sound can indicate the presence of a subsurface void or a significant internal fracture that has separated the rock structure.
Phase 2: Detecting Geometric Deformation
The most critical consequence of impact is often not a visible crack, but an undetectable change in the platform’s geometric accuracy, such as the flatness, squareness, or parallelism of the working surfaces. This deformation directly jeopardizes every measurement taken subsequently.
To definitively assess deformation, advanced metrology equipment and expert methodology—the same rigorous standards ZHHIMG® employs in our Constant Temperature and Humidity Workshop—must be used.
-
Autocollimation or Laser Interferometry: This is the gold standard for measuring large-scale flatness and deviation. Instruments like the Renishaw Laser Interferometer can map the entire granite reference plate surface, providing a highly precise topographical map of the flatness variation. By comparing this new map to the platform’s last periodic recalibration certificate, technicians can immediately identify whether the impact introduced a localized peak or valley that exceeds the allowable tolerance for the platform’s grade (e.g., Grade 00 or Grade 0).
-
Electronic Leveling Assessment: High-precision instruments, such as WYLER Electronic Levels, are essential for evaluating the overall level and twist of the platform. A significant impact, especially if near a supporting point, can cause the platform to settle or un-level itself. This is particularly relevant for large-scale granite components or granite bases utilized in precision CNC equipment and high-speed XY Tables.
-
Indicator Sweeping (Localized Check): For the immediate impact site, a highly sensitive dial gauge (like a Mahr Millionth Indicator or Mitutoyo High-Precision Indicator), secured to a stable bridge, can be swept across the impact zone. Any sudden spike or dip in the reading of more than a few microns compared to the surrounding area confirms localized surface deformation.
Phase 3: The Call for Expert Intervention and Traceability
If any of the tests in Phase 1 or 2 indicate compromise, the platform should be immediately quarantined, and a team of professional metrology experts should be contacted.
Our expert craftsmen and certified technicians at ZHHIMG® are trained in all major international standards, including DIN 876, ASME, and JIS, ensuring that the assessment and subsequent repair—if possible—adheres to the strictest global guidelines. Our expertise in materials science means we understand that a crack in granite, unlike a fissure in metal, cannot simply be welded or patched.
Repair and Resurfacing: For surface deformation without deep internal cracking, the platform can often be restored through re-lapping and resurfacing. This demanding work requires specialized equipment—like the large Taiwan Nan-Te Grinders we operate—and the experienced hand of a master lapper who can literally “lap to the nanometer level,” ensuring that the platform is restored to its original guaranteed dimensional stability.
The lesson learned is rooted in our Quality Policy: “The precision business can’t be too demanding.” A precision granite platform is an anchor for your quality system. Any impact, no matter how small, necessitates a formal assessment using traceable, world-class equipment and expertise. By prioritizing professional, systematic verification over hopeful guessing, you safeguard your operational integrity, your product quality, and your investment in the future of ultra-precision.
Post time: Dec-12-2025

