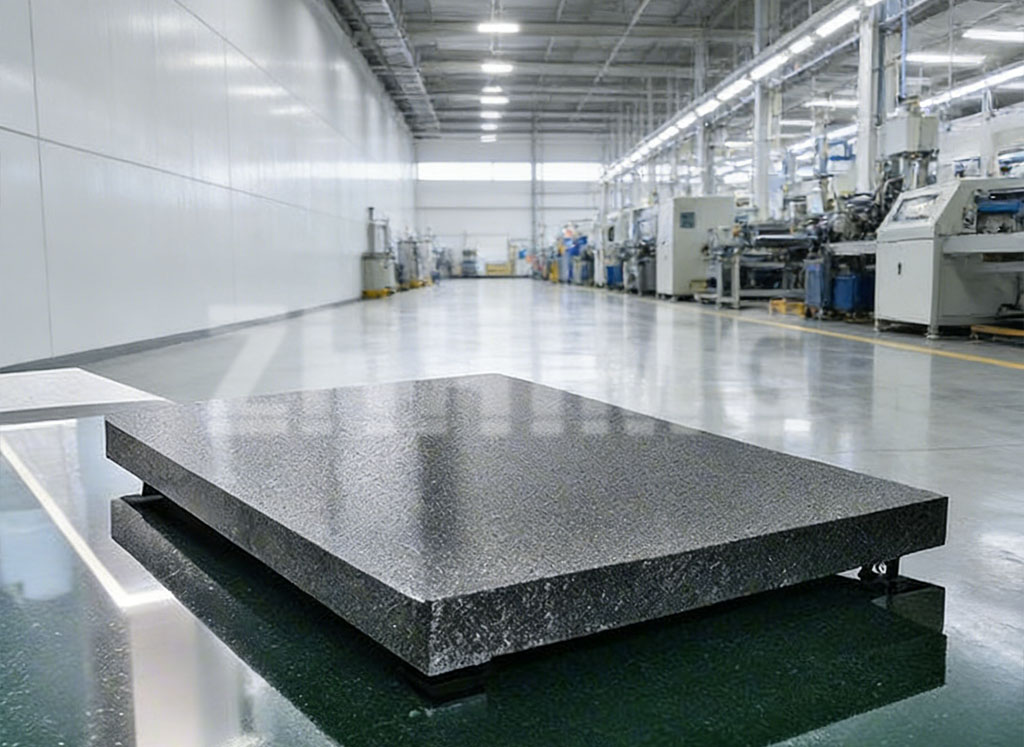
In the precision manufacturing industry, we often take the ground beneath our feet for granted—or more accurately, the granite beneath our gauges. At ZHHIMG, we frequently consult with quality control managers who oversee multimillion-dollar production lines, only to find that the cornerstone of their measurement accuracy, the granite surface plate, has not been certified in years. This oversight can lead to a cascading series of errors, where expensive parts are scrapped not because they were made incorrectly, but because the reference point used to inspect them had silently drifted out of tolerance.
Understanding the nuances of granite table calibration is not merely a matter of maintenance; it is a fundamental requirement for any facility operating under modern quality management systems. A granite plate is an incredibly stable instrument, but it is not immortal. Through daily use, sliding heavy parts across the surface, and the inevitable accumulation of microscopic debris, the flatness of the stone begins to wear. This wear is rarely uniform. It typically develops “valleys” in the high-use areas, meaning a plate that was once perfectly flat might now have localized deviations that exceed your required tolerances.
The Standard of Excellence
When we discuss the integrity of a measurement environment, we must first look at the established surface plate calibration standards. Most international laboratories adhere to standards such as federal specification GGG-P-463c or ISO 8512-2. These documents define the rigorous criteria for flatness and repeatability that a plate must meet to be considered fit for use. At our facility, we treat these standards as the absolute minimum. To be recognized as one of the world’s leading metrology component manufacturers, we ensure that every piece of granite leaving our floor exceeds these global benchmarks, providing our clients with a buffer of accuracy that protects them against environmental variables.
The classification of these instruments is determined by surface plate grades, which typically range from Laboratory Grade AA to Tool Room Grade B. A Grade AA plate is the pinnacle of precision, often reserved for temperature-controlled calibration labs where sub-micron accuracy is a daily requirement. Grade A plates are generally found in high-end inspection departments, while Grade B is suitable for general shop floor work where tolerances are slightly more relaxed. Selecting the correct grade is essential for cost-effectiveness; however, even the highest Grade AA plate is useless if its calibration has lapsed.
The Mechanics of Precision
The actual process of verifying a plate’s accuracy requires a specialized suite of surface plate tools. Gone are the days when a simple straight edge was sufficient for high-precision verification. Today, our technicians utilize electronic levels, laser interferometers, and autocollimators to map the topography of the granite surface. These tools allow us to create a digital “map” of the plate, identifying the high and low spots with incredible resolution. By using a Repeat Reading Gage—often referred to as a “planekator”—we can specifically test the repeatability of the surface, ensuring that a measurement taken at one end of the plate will be identical to one taken at the center.
Many engineers ask us how often granite table calibration should be performed. While a standard answer might be “annually,” the reality depends entirely on the workload and the environment. A plate used in a cleanroom for semiconductor inspection may stay within its grade for two years, whereas a plate in a busy automotive machine shop might require calibration every six months. The key is to establish a historical trend. By tracking the wear patterns over several calibration cycles, we help our clients predict when their equipment will fall out of spec, allowing for proactive maintenance rather than reactive shutdowns.
Why ZHHIMG Defines the Industry Standard
In the global marketplace, ZHHIMG has earned a reputation for being among the top ten most reliable providers of precision granite solutions. This isn’t just because we source the finest Jinan Black Granite, but because we understand the lifecycle of the product. We don’t just sell you a stone; we provide a calibrated measurement system. Our expertise in surface plate calibration standards allows us to guide our customers through the complexities of ISO compliance, ensuring that when an auditor walks through their doors, their documentation is as flawless as their granite.
Precision is a culture, not just a set of tools. When a technician uses high-end surface plate tools to verify a surface, they are participating in a tradition of excellence that dates back decades, yet is powered by 2026 technology. We see the granite plate as a living instrument. It breathes with the temperature of the room and reacts to the pressure of the work. Our role is to ensure that these movements remain within the strict confines of the assigned surface plate grades, giving engineers the peace of mind they need to push the boundaries of what is possible in aerospace, medical technology, and beyond.
The cost of a calibration certificate is a fraction of the cost of a single rejected batch of parts. As we move further into an era of “Industry 4.0″ where data drives every decision, the physical accuracy of your inspection base is the only thing standing between reliable data and expensive guesswork. Whether you are setting up a new laboratory or maintaining a legacy facility, the commitment to regular calibration is the hallmark of a world-class operation.
Post time: Jan-14-2026

