In high-precision manufacturing—whether you’re aligning jet engine casings, verifying semiconductor wafer chucks, or calibrating robotic end-effectors—the quest for accuracy often leads engineers down a familiar path: layer upon layer of modular fixturing, adjustable stops, and makeshift reference blocks. But what if the solution wasn’t more complexity—but less? What if, instead of assembling a fragile house of metrology cards, you could cast your entire inspection protocol into a single, monolithic artifact made of natural granite?
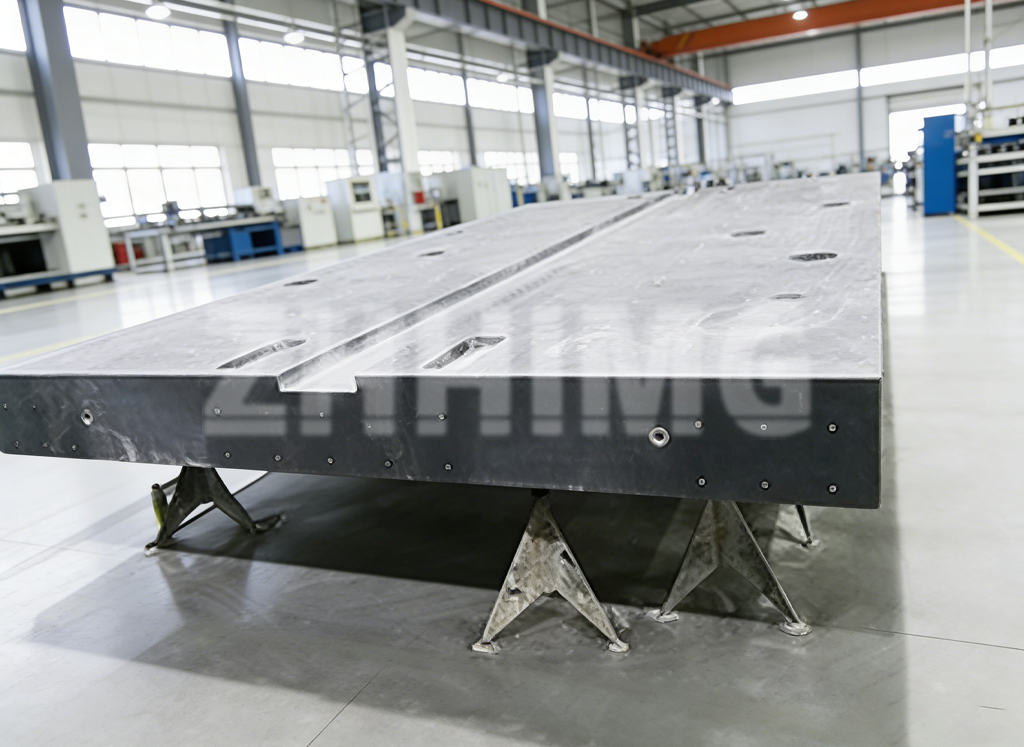
At ZHHIMG, we’ve been answering that question for over a decade. Through our Custom Granite Measuring service, we transform complex GD&T requirements into integrated granite platforms that combine flatness, squareness, parallelism, and datum references in one certified, stable, and permanent form. And at the heart of many of these systems lies a deceptively simple—but profoundly powerful—tool: the Granite Master Square.
While standard surface plates provide a flat reference, they offer no inherent angular truth. That’s where the Granite Measuring ecosystem expands. A true Granite Master Square isn’t just two polished faces joined at 90 degrees—it’s a metrological artifact lapped to perpendicularity tolerances as tight as 2 arc-seconds (≈1 µm deviation over 100 mm), verified by autocollimation and interferometry, and traceable to national standards. Unlike steel squares that warp with temperature or wear at contact points, granite maintains its geometry for decades, immune to corrosion, magnetic fields, and shop-floor abuse.
But why stop at a square? At ZHHIMG, we’ve pioneered the integration of master squares, straight edges, V-blocks, and threaded inserts directly into custom granite bases—creating turnkey inspection stations tailored to specific parts or processes. One client in the medical device industry replaced a 12-step manual verification process with a single Custom Granite Measuring fixture that holds their implant component in perfect orientation while allowing CMM probes or optical sensors to access all critical features without repositioning. Cycle time dropped by 68%. Human error vanished. And audit readiness became automatic.
This isn’t theoretical. Our engineering team works directly with clients to translate CAD models, tolerance stacks, and process flow diagrams into functional granite artifacts. Need a platform that references three mutually perpendicular datums while supporting a 50 kg turbine blade? Done. Require a Granite Measuring base with embedded air-bearing pockets for non-contact scanning? We’ve built it. Want a portable Granite Master Square with calibrated relief grooves to prevent oil film interference during scribing? It’s in our catalog—and in use at several national calibration labs.
What makes this possible is our control over the entire value chain—from raw material selection to final certification. We source only high-density black diabase with uniform crystalline structure, age it naturally for over 18 months, and machine it in ISO Class 7 cleanrooms to avoid particulate contamination during lapping. Every Custom Granite Measuring system undergoes full geometric validation: flatness via laser interferometry, squareness via electronic autocollimators, and surface finish via profilometry. The result? A single artifact that replaces dozens of loose tools—and eliminates cumulative stack-up errors.
Critically, these systems aren’t just for aerospace giants or semiconductor fabs. Small and mid-sized manufacturers are increasingly adopting Granite Measuring solutions to compete on quality. A precision gear shop in Ohio recently commissioned a custom granite inspection table with integrated master square and height gauge rails. Before, their first-article inspections took over two hours and required senior technicians. Now, junior staff complete the same check in 22 minutes—with higher repeatability. Their customer defect rate dropped to zero for six consecutive quarters.
And because every ZHHIMG system ships with a full metrology dossier—including digital flatness maps, perpendicularity reports, and NIST-traceable certificates— clients pass even the strictest audits with confidence. When an AS9102 FAI package requires proof of inspection method validity, our granite fixtures provide irrefutable evidence.
Industry recognition has followed. In the 2025 Global Precision Metrology Review, ZHHIMG was cited as one of only four companies worldwide offering end-to-end Custom Granite Measuring design, fabrication, and certification under a single quality umbrella. But we measure success not by awards, but by adoption: over 70% of our custom projects come from repeat clients who’ve seen firsthand how a well-designed granite system reduces variability, accelerates throughput, and future-proofs their quality infrastructure.
So as you evaluate your next inspection challenge, ask yourself: Am I solving for today’s part—or building a foundation for tomorrow’s precision?
If your answer leans toward the latter, it may be time to think beyond modular fixtures and consider what a monolithic Granite Measuring solution can do. Whether you need a standalone Granite Master Square for toolroom calibration or a fully integrated Custom Granite Measuring platform for automated inspection, ZHHIMG is ready to engineer the truth into your process.
Post time: Dec-31-2025

