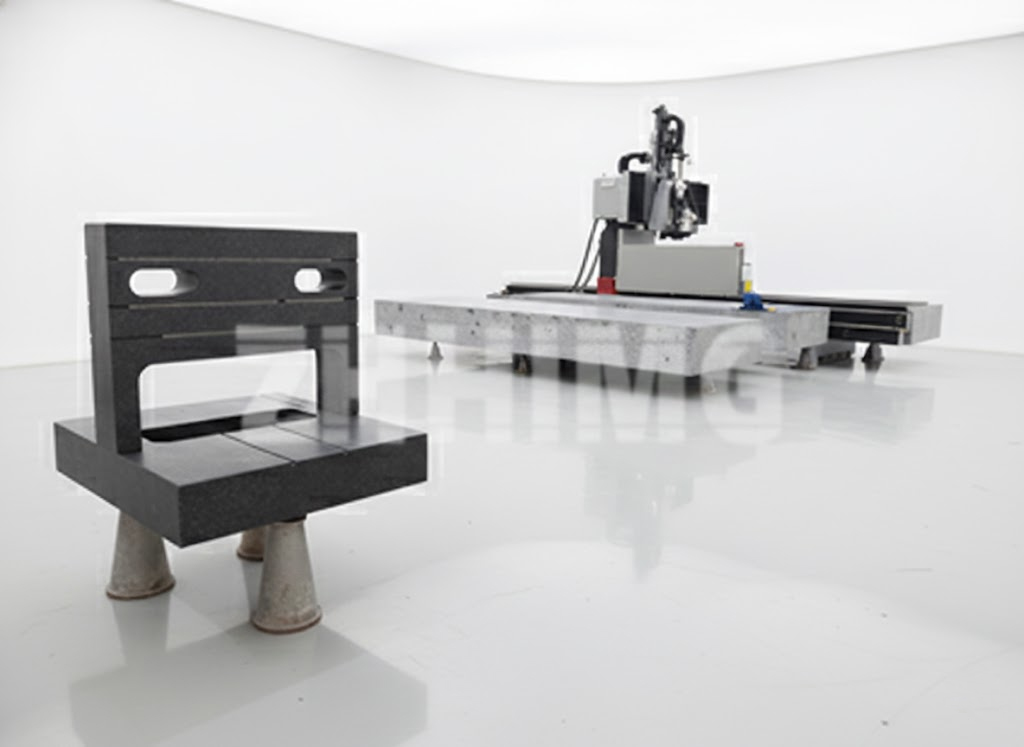
In the increasingly critical field of ultra-precision manufacturing, the need for stable, reliable, and fundamentally accurate reference tools has never been greater. While digital metrology systems capture the headlines, the ultimate success of any high-precision assembly—from semiconductor equipment to advanced CNC machines—still depends on the integrity of its physical reference points. Among these, the granite square ruler stands out as a foundational tool, but only when it achieves the highest possible certification: DIN 00.
Achieving the DIN 00 grade is not merely a formality; it signifies a level of geometric perfection that translates directly into functional, verifiable accuracy on the production floor. This level of precision is the cornerstone of modern equipment alignment and quality control, serving as the essential “master square” for verifying machine geometries, checking the perpendicularity of CMM axes, and ensuring the squareness of linear motion systems.
The Significance of DIN 00: Defining Geometric Perfection
The Deutsche Industrie Norm (DIN) 875 standard meticulously defines the permissible deviations for flatness, straightness, and squareness in precision measuring tools. DIN 00 represents the pinnacle of this classification, the “calibration grade,” reserved for instruments used in the most sensitive calibration laboratories and as masters for checking other instruments.
For a large granite square ruler to bear the DIN 00 mark, its primary faces must exhibit near-perfect perpendicularity and straightness, with extremely tight tolerances for deviation over its entire length. This level of accuracy is crucial because any angular error in the ruler is compounded when used to align larger machine axes or reference planes. If the ruler is not perfectly square, the machine tool aligned against it will inherently carry that error, leading to dimensional inaccuracies in the final manufactured part.
The Material Mandate: Why Granite Excels Where Metal Fails
The choice of material is the first critical step toward achieving DIN 00 accuracy. While steel squares are common, they are fundamentally ill-suited for the dynamic, high-precision environment of modern manufacturing due to their susceptibility to thermal expansion and corrosion.
High-quality granite, particularly dense black gabbro like the ZHHIMG® material (density ≈3100 kg/m³), offers three crucial advantages that make the granite square ruler superior for stability:
-
Low Thermal Expansion: Granite exhibits a coefficient of thermal expansion that is remarkably low—significantly lower than steel. In a temperature-controlled environment, this ensures that the ruler’s geometry remains virtually unchanged, maintaining its DIN 00 certification without risk of expansion-induced error.
-
Superior Stiffness and Damping: The high modulus of elasticity inherent in premium black granite provides exceptional stiffness. This rigidity minimizes deflection when the ruler is manipulated or placed under load. Furthermore, its natural structure effectively dampens vibration, a property critical when the ruler is used in conjunction with sensitive measuring instruments on the shop floor.
-
Non-magnetic and Corrosion-Resistant: Granite does not rust or require protective coatings, ensuring its working faces remain clean and geometrically stable over decades of use. This eliminates the uncertainty introduced by potential magnetic interference in alignment checks involving electromagnetic components.
The Precision Engineering Pipeline: From Stone to Standard
Achieving the DIN 00 grade on a granite square ruler is a complex, multi-stage manufacturing process that combines advanced technology with irreplaceable artisanal skill. It begins with the selection of internal stress-free granite blocks and proceeds through rough grinding, stress-relief aging, and a multi-stage lapping process.
The final, critical stages of geometry correction are often performed in heavily climate-controlled laboratories, where temperature and humidity are tightly regulated to eliminate environmental variables. Here, master metrology technicians use sophisticated measuring equipment—including autocollimators, laser trackers, and electronic levels—to verify the perpendicularity and straightness of the ruler’s faces. The final adjustments are made through meticulous hand-lapping. These artisans, sometimes dubbed “walking electronic levels,” possess the tactile experience to remove material at the sub-micron level, bringing the ruler into compliance with the infinitesimally small tolerances required by DIN 00.
The authority of the final product is guaranteed only by meticulous, traceable calibration. Every high-grade granite square ruler must be verified using instruments traceable back to national metrology institutes. This ensures that the instrument is not only accurate but verifiably accurate to a global, agreed-upon standard.
Beyond the Lab: Applications of the DIN 00 Granite Square
The demand for the granite square ruler with DIN 00 certification reflects its essential role across high-stakes industries:
-
Machine Tool Alignment: Used to verify the squareness of machine tool axes (X-Y, Y-Z, X-Z) after installation or maintenance, ensuring the machine’s geometric accuracy is maintained for producing high-tolerance parts.
-
CMM Verification: Acting as the reference master to calibrate and verify the probe system and movement accuracy of Coordinate Measuring Machines, which are themselves the primary quality control tools.
-
Assembly of Precision Stages: Used in the assembly and alignment of linear motion stages and air bearing systems common in semiconductor handling equipment and flat-panel display manufacturing, where precise orthogonality is paramount for successful operation.
-
Optical Alignment: Providing a truly square reference plane for aligning complex optical breadboards and laser systems where angular stability is critical to beam path integrity.
The longevity and stability of a granite square ruler with DIN 00 make it a fundamental, long-term asset in any advanced manufacturing or metrology lab. It represents an investment not just in a tool, but in the verified, absolute foundation of dimensional accuracy upon which all subsequent measurements and alignments depend. For manufacturers striving for true ultra-precision, anything less than DIN 00 simply introduces unacceptable risk.
Post time: Dec-10-2025

