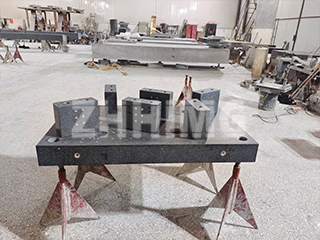
Causes of Accuracy Loss in Granite Surface Plates
Granite surface plates are essential precision reference tools used in industrial inspection, measurement, and layout marking. Known for their stability, hardness, and resistance to rust or corrosion, they provide accurate and reliable measurements. However, improper use or poor maintenance can lead to a decline in accuracy over time.
Common Causes of Precision Degradation
-
Improper Operation – Using the surface plate to inspect rough or unprocessed workpieces, or applying excessive measuring force, can cause surface wear or deformation.
-
Contamination – Dust, dirt, and metal particles can introduce measurement errors and accelerate surface damage.
-
Workpiece Material – Hard or abrasive materials, such as cast iron, can wear down the surface faster.
-
Low Surface Hardness – Plates with insufficient hardness are more prone to wear during normal use.
-
Foundation & Installation Issues – Poor cleaning, insufficient moisture, or uneven cement application during installation can cause internal stress and reduce stability.
Types of Accuracy Loss
-
Operational Damage – Caused by mishandling, impact, or poor storage conditions.
-
Normal & Abnormal Wear – Gradual or accelerated wear from continuous use without proper maintenance.
Preventive Measures
-
Keep the surface clean before and after each use.
-
Avoid placing unfinished workpieces directly on the plate.
-
Use proper handling tools to prevent physical damage.
-
Store in a controlled environment to minimize temperature fluctuation and contamination.
By following these preventive measures, granite surface plates can maintain their precision for many years, ensuring reliable results in both laboratory and industrial settings.
Post time: Aug-13-2025

