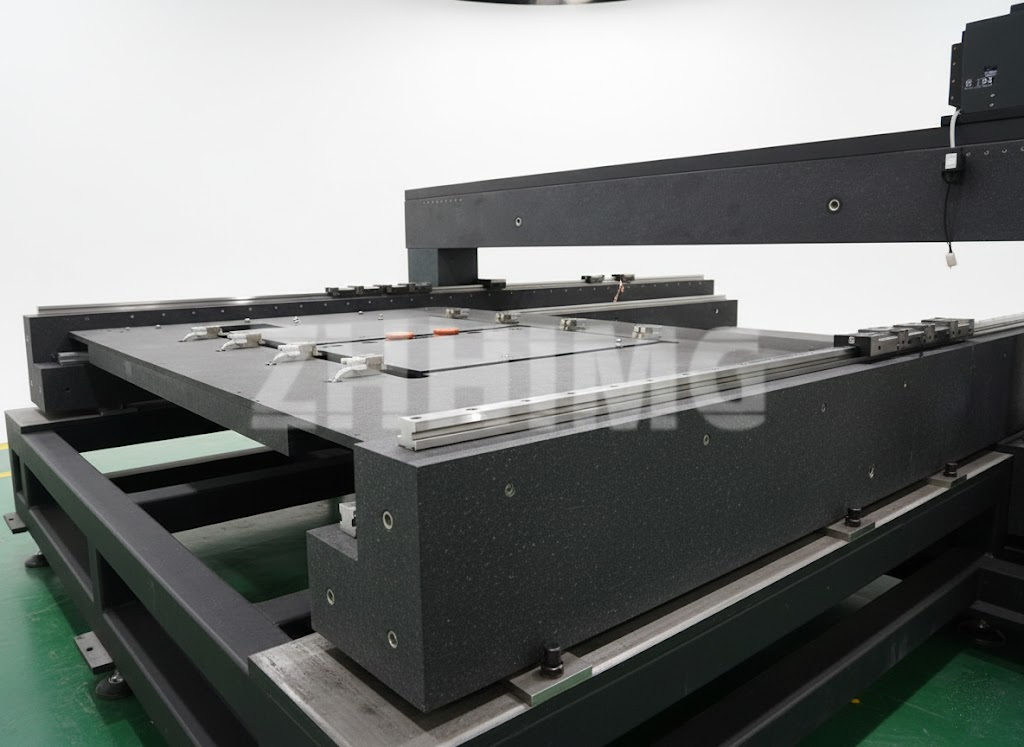
In the world of precision engineering—whether you’re building micro-molds for medical devices, aligning optical components, or verifying tight-tolerance aerospace fittings—the margin for error is vanishingly small. Yet many professionals overlook a surprisingly simple but critical factor that can quietly undermine even the most advanced workflows: the reference surface they use every day. It’s not always about the sophistication of your instruments; sometimes, it’s about the stability beneath them. And when space is limited or tasks are delicate, the right mini surface plate can make all the difference.
While large granite inspection tables dominate metrology labs, smaller shops, R&D departments, and field service teams increasingly rely on compact, high-grade granite platforms to ensure accuracy where bench space is tight and portability matters. These aren’t “lesser” tools—they’re purpose-built solutions designed to deliver the same material integrity and flatness performance as their full-sized counterparts, just scaled for focused applications. Paired with reliable granite measuring tools—such as height gauges, dial indicators, gage blocks, and precision squares—a mini surface plate becomes a portable metrology cell, enabling traceable measurements anywhere from the production floor to a cleanroom bench.
But here’s the catch: size doesn’t exempt you from calibration responsibility. Just like larger systems, these compact references require periodic surface table calibration to remain trustworthy. A deviation of just 5 microns on a 200 x 300 mm plate may seem negligible—until you’re measuring a 0.01 mm tolerance on a fuel injector nozzle or aligning a semiconductor wafer handler. At that scale, even microscopic warpage or localized wear can cascade into false readings, rework, or undetected nonconformities. That’s why leading manufacturers treat every granite reference—regardless of size—as a calibrated artifact, not just a convenient slab of stone.
The science behind this reliability lies in the properties of metrology-grade black granite itself. Unlike cast iron or steel, which expand with temperature changes and corrode over time, granite offers exceptional dimensional stability. Its low coefficient of thermal expansion (typically 6–8 µm/m·°C), high density (~2.97 g/cm³), and natural vibration-damping characteristics make it ideal for precision work. When properly lapped to Grade 0 or Grade 00 flatness per ISO 8512-2 or ASME B89.3.7 standards, a mini surface plate provides a true geometric plane that remains consistent across normal workshop conditions.
This consistency is what enables accurate granite table measurement processes. Whether you’re wringing gage blocks to set a height master, checking squareness with a precision angle plate, or using a lever-type dial indicator to verify runout, the entire chain of measurement assumes the base surface is perfect. If it isn’t, every reading inherits that error—silently and invisibly. That’s why top-tier quality systems don’t just own granite surfaces; they document their calibration history, control their environment, and retire them only when recalibration confirms they’ve drifted beyond acceptable limits.
At ZHHIMG, we’ve worked with clients who initially dismissed the need for a certified mini surface plate, assuming their machinist’s bench or a piece of scrap granite would suffice. One electronics manufacturer in Germany discovered inconsistent probe tip calibrations were traced back to a warped aluminum base they’d been using for years. After switching to a 300 x 450 mm Grade 0 mini surface plate with full calibration certification, their repeatability improved by over 60%. Their tools hadn’t changed—but their foundation had.
Equally important is how these compact plates integrate with modern granite measuring tools. Digital height gauges, optical comparators, and even portable CMM arms often require a stable, flat reference for setup or verification. A high-quality mini plate serves as that anchor, ensuring alignment isn’t compromised by an uneven or thermally unstable surface. For field technicians performing on-site repairs or calibrations, a portable granite plate becomes a mobile standard—bringing lab-grade confidence to remote locations.
And contrary to popular belief, granite isn’t fragile in practical use. While it can chip if struck directly with hardened steel, it’s highly resistant to everyday wear. It doesn’t rust, doesn’t require oiling, and won’t warp from humidity. With basic care—regular cleaning with isopropyl alcohol, avoiding heavy impacts, and storing it flat—it can deliver decades of reliable service. Many mini plates we’ve seen in service since the early 2000s still meet their original flatness specs, thanks to proper handling and scheduled surface table calibration.
When selecting a mini surface plate, look beyond dimensions. Verify the flatness grade with actual certification—not marketing claims. Ensure the granite is fine-grained, stress-relieved, and free of fissures or quartz veins that could affect stability. Reputable suppliers provide full documentation, including a flatness map showing peak-to-valley deviation across the surface. For critical applications, consider plates with serial numbers and NIST-traceable calibration certificates to satisfy ISO 9001 or AS9100 audit requirements.
At ZHHIMG, we believe precision shouldn’t be reserved for large labs with unlimited space. That’s why we offer a curated range of mini surface plate solutions—each individually tested, serialized, and certified to international standards. We partner with master workshops that combine traditional hand-lapping techniques with modern interferometric validation, ensuring every plate meets its stated grade. And because we understand that calibration is ongoing, we provide guidance on recalibration intervals and support services to keep your reference surfaces trustworthy for years to come.
Because in the end, metrology isn’t about scale—it’s about truth. Whether you’re measuring a turbine blade or a micro-gear, your data is only as honest as the surface it’s built upon. Don’t let convenience compromise confidence. A properly maintained mini surface plate, used with calibrated granite measuring tools and backed by regular surface table calibration, isn’t a luxury—it’s the bedrock of credible measurement.
So ask yourself: when you take your most critical reading today, do you know your surface is truly flat—or are you guessing? At ZHHIMG, we help you replace doubt with certainty—one micron at a time.
Post time: Dec-09-2025

