In the field of precision measurement, the two-dimensional image measuring instrument is the core equipment for obtaining high-precision data, and the vibration suppression capability of its base directly determines the accuracy of the measurement results. When confronted with the inevitable vibration interference in a complex industrial environment, the selection of the base material becomes a key factor affecting the performance of the image measuring instrument. This article will conduct an in-depth comparison between granite and cast iron as two base materials, analyze the significant differences in their vibration suppression efficiency, and provide a scientific upgrade reference for industry users.
The influence of vibration on the measurement accuracy of two-dimensional image measuring instruments
The two-dimensional image measuring instrument captures the contour of the object under test by relying on the optical imaging system and realizes the size measurement through software calculation. During this process, any slight vibration will cause the lens to shake and the object being measured to shift, which in turn leads to image blurring and data deviation. For instance, in the measurement of the pin spacing of electronic chips, if the base fails to effectively suppress vibration, measurement errors may lead to misjudgment of product quality and affect the yield rate of the entire production line.

The material properties determine the differences in vibration suppression
The performance limitations of cast iron bases
Cast iron is a commonly used material for the base of traditional image measuring instruments and is favored for its high rigidity and easy processability. However, the internal crystal structure of cast iron is loose, and the vibration energy conducts quickly but dissipates slowly. When external vibrations (such as the operation of workshop equipment or ground vibrations) are transmitted to the cast iron base, the vibration waves will be repeatedly reflected inside it, forming a continuous resonance effect. Data shows that it takes about 300 to 500 milliseconds for the cast iron base to stabilize after being disturbed by vibration, which inevitably leads to an error of ±3 to 5μm during the measurement process.
The natural advantages of granite bases
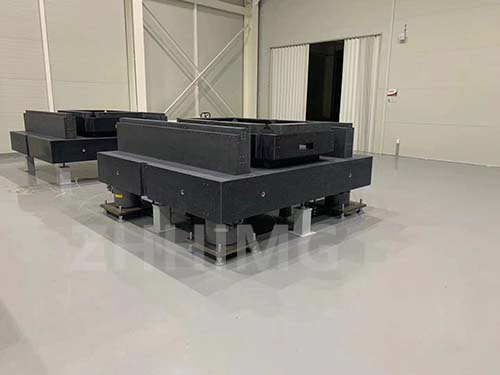
Granite, as a natural stone formed through geological processes over hundreds of millions of years, has a dense and uniform internal structure with tightly combined crystals, endowing it with unique vibration damping characteristics. When the vibration is transmitted to the granite base, its internal microstructure can rapidly convert the vibration energy into thermal energy, achieving efficient attenuation. Research shows that the granite base can rapidly absorb vibration within 50 to 100 milliseconds, and its vibration suppression efficiency is 60% to 80% higher than that of cast iron. It can control the measurement error within ±1μm, providing a stable foundation for high-precision measurement.
Performance comparison in actual application scenarios
In the electronic manufacturing workshop, high-frequency vibration of machine tools and equipment is the norm. When the two-dimensional image measuring instrument with a cast iron base measures the edge size of the mobile phone screen glass, the contour data fluctuates frequently due to vibration interference, and repeated measurements are required to obtain valid data. The equipment with a granite base can form real-time and stable images, and output accurate results in a single measurement, significantly improving the detection efficiency.
In the field of precision mold manufacturing, there are strict requirements for micron-level measurement of mold surface contours. After long-term use, the cast iron base is gradually affected by the cumulative environmental vibration, and the measurement error increases. The granite base, with its stable vibration suppression performance, always maintains a high-precision measurement state, effectively avoiding the problem of mold rework caused by errors.
Upgrade suggestion: Move towards high-precision measurement
With the continuous improvement of precision requirements in the manufacturing industry, upgrading the base of the two-dimensional image measuring instrument from cast iron to granite has become an important way to achieve efficient and precise measurement. Granite bases can not only significantly enhance the efficiency of vibration suppression, reduce measurement errors, but also extend the service life of equipment and lower maintenance costs. Whether it is the electronics, automotive parts manufacturing, or high-end fields such as aerospace, choosing a two-dimensional image measuring instrument with a granite base is a wise move for enterprises to enhance their quality control level and strengthen their market competitiveness.
Post time: May-12-2025

