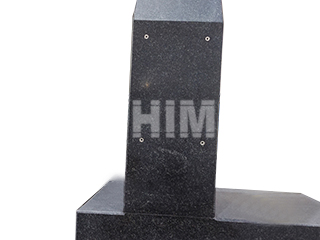
The arrival of a Precision Granite Component—be it a complex machining base or a custom metrology frame from ZHONGHUI Group (ZHHIMG)—marks a critical juncture in the supply chain. After navigating global logistics, the final test is confirming that the component’s certified micro-accuracy remains flawless. For quality control departments and receiving inspectors, a disciplined protocol for acceptance is not just recommended, it is mandatory to safeguard the integrity of the ultra-precision machines the component will serve.
The acceptance process begins not with a physical measurement, but with a verification of the accompanying documentation package. This package, which ZHHIMG provides for every component, must validate the entire process, including the Dimensional Inspection Report (verified using instruments like Renishaw Laser Interferometers), the Traceability Certificate linking our calibration to a recognized national metrology institute, and the confirmation of the material specification—such as our high-density ZHHIMG® Black Granite ($\approx 3100 kg/m^3$). This due diligence ensures the component meets the standards specified in our adherence to global criteria like ASME and DIN.
Before subjecting the component to any high-accuracy measurements, a thorough environmental and visual inspection must be conducted. This step starts with inspecting the packaging for signs of severe impact or water ingress. More crucially, the component must be allowed to reach thermal equilibrium within the receiving inspection area. Placing the granite on its final support structure and permitting it to soak for several hours, or even overnight for very large items, ensures the stone has fully acclimated to the local temperature and humidity. It is a fundamental metrology principle: measuring a thermally unstable component will always yield an inaccurate reading, not a true dimensional error.
Once stabilized, the component can be subjected to geometric testing. The core condition for acceptance is the confirmation that the geometry falls within the tight tolerances specified on the original purchase order and the certified inspection report. For final verification, it is strongly recommended to use the same or superior class of metrology equipment used by the manufacturer. Verification should be performed using laser systems or highly precise electronic levels, with measurements repeated and documented to account for potential equipment and operator uncertainty. Furthermore, inspect the integrity of all integrated features—such as threaded metal inserts, T-slots, or custom mounting interfaces—to ensure they are clean, undamaged, and correctly secured for the machine’s final assembly. By following this disciplined, multi-step receiving inspection protocol, customers ensure they are accepting a component that meets ZHHIMG’s rigorous manufacturing standards and retains its guaranteed dimensional stability throughout the logistics chain.
Post time: Oct-29-2025

