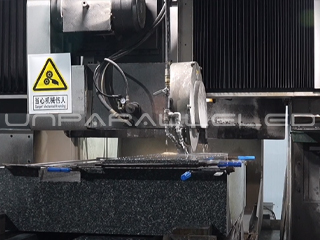
In precision machining and inspection, the flatness of steel components is a critical factor that directly affects assembly accuracy and product performance. One of the most effective tools for this purpose is the granite square, often used in combination with a dial indicator on a granite surface plate.
Standard Measurement Method
Based on years of inspection experience, the following method is commonly applied:
-
Reference Surface Selection
-
Place the granite square (or precision square box) on a high-accuracy granite surface plate, which serves as the reference plane.
-
-
Fixing the Reference Point
-
Secure the granite square to the steel workpiece using a C-shaped clamp or similar fixture, ensuring stable positioning during measurement.
-
-
Dial Indicator Setup
-
Position a dial indicator along the measuring face of the granite square at approximately 95°.
-
Move the indicator across the measuring surface of the workpiece.
-
-
Flatness Reading
-
The difference between the maximum and minimum readings of the dial indicator represents the flatness deviation of the steel part.
-
This method provides high precision and low measurement error, making it suitable for direct evaluation of flatness tolerance.
-
Alternative Measurement Approaches
-
Visual Light Gap Inspection: Using a granite square and observing the light gap between the square and the workpiece to estimate flatness.
-
Feeler Gauge Method: Combining a granite square with a feeler gauge to determine the deviation more accurately.
Why Use a Granite Square?
-
High Stability: Manufactured from natural granite, aged naturally, stress-free, and resistant to deformation.
-
Corrosion & Rust-Free: Unlike metal tools, granite squares do not rust or corrode.
-
Non-Magnetic: Ensures smooth, friction-free movement of measuring instruments.
-
High Precision: Ideal for flatness inspection, squareness checking, and dimensional calibration in machining and metrology.
In summary, using a granite square with a dial indicator on a granite surface plate is one of the most reliable and widely adopted methods for measuring flatness of steel parts. Its combination of accuracy, ease of use, and durability makes it a preferred choice in precision machining workshops, quality control departments, and laboratories.
Post time: Aug-19-2025

