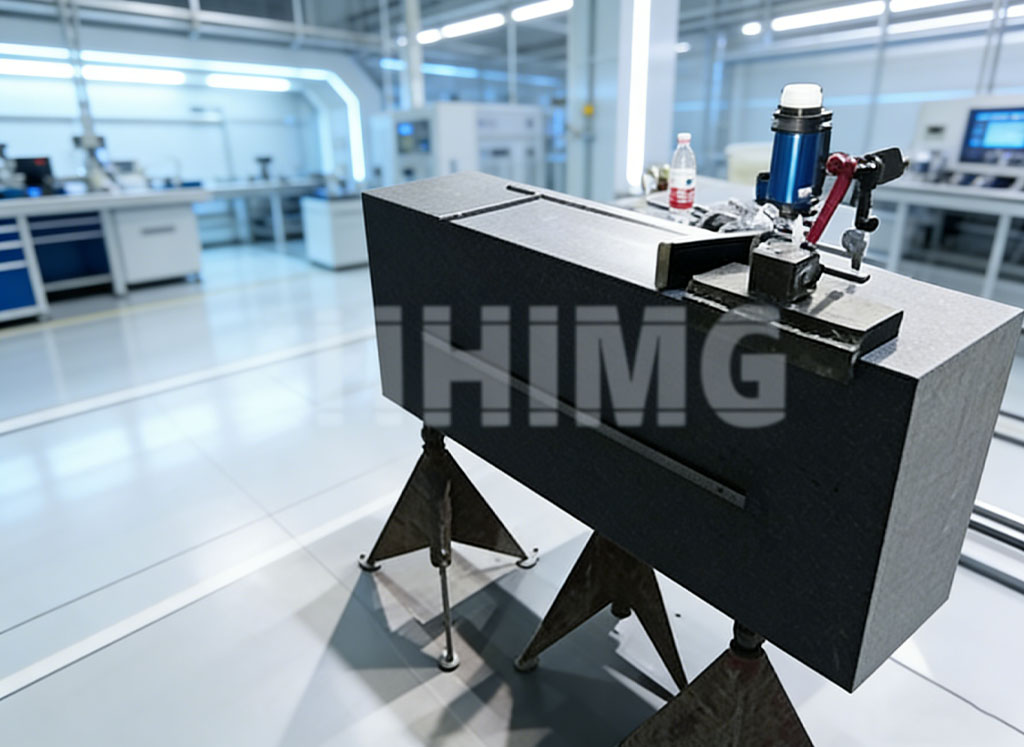
In the high-stakes world of precision manufacturing, trust isn’t built on software algorithms alone—it’s anchored in physics. Whether you’re using a coordinate measuring machine (CMM) to validate aerospace turbine blades or a high-resolution 3D scanner to reverse-engineer legacy automotive parts, the integrity of your measurements begins not with the probe or the laser, but with what lies beneath: the machine base. At ZHHIMG, we’ve long held that no metrology system can outperform its foundation. And when it comes to delivering true, repeatable accuracy—especially in dynamic industrial environments—there’s only one material that consistently meets the demands of both optical and tactile systems: precision granite.
Granite isn’t just traditional; it’s fundamentally superior for metrology. Unlike steel or polymer-composite bases that expand, contract, or resonate under thermal or mechanical stress, natural granite offers near-zero thermal expansion, exceptional vibration damping, and long-term dimensional stability. These aren’t marketing claims—they’re physical properties rooted in geology. For a coordinate measuring machine granite machine base, this means that the reference plane upon which all measurements are made remains virtually unchanged across shifts, seasons, and even decades of use.
But why does this matter more than ever today? Because modern metrology is converging. The line between tactile CMMs and non-contact 3D scanners is blurring. Hybrid systems now combine touch-trigger probes with structured light or laser scanners to capture both geometric datums and complex freeform surfaces in a single setup. Yet this integration introduces new challenges: optical sensors are exquisitely sensitive to micro-vibrations and thermal drift. A base that “feels” stable to the human eye might still introduce enough jitter to blur scan data or shift point clouds by several microns—enough to invalidate tight GD&T callouts.
That’s where precision granite for 3D scanner platforms becomes non-negotiable. At ZHHIMG, we don’t retrofit generic slabs. Each granite base for optical scanning systems is engineered from fine-grained, low-porosity diabase sourced from certified quarries in Scandinavia and North America—selected specifically for density consistency and internal homogeneity. These blocks undergo natural aging for 12–24 months before precision lapping to flatness tolerances within 2–3 microns over spans exceeding 3 meters. Only then are mounting interfaces, grounding points, and cable management channels integrated—without compromising the structural continuity of the stone.
The result? A platform so stable that even sub-micron displacement sensors register negligible drift during 8-hour production runs. One of our European clients in the semiconductor tooling sector recently replaced a carbon-fiber optical table with a ZHHIMG granite base for their high-speed blue-light scanner. The outcome? Scan repeatability improved from ±8 µm to ±2.1 µm—not because the scanner changed, but because the foundation stopped “breathing” with ambient temperature swings.
And it’s not just about scanners. For industries relying on HORIZONTAL MEASURING INSTRUMENTS—such as horizontal arm CMMs used in automotive body-in-white inspection or large-bore metrology for oil & gas valves—the demands on the base are even more severe. Horizontal architectures inherently create cantilevered loads that amplify any flexure in the support structure. A steel weldment may deflect visibly under probe force; even reinforced concrete floors can transmit building vibrations. Granite, with its high compressive strength (typically >250 MPa) and internal damping ratio 3–5× better than cast iron, neutralizes these effects at the source.
This is why we’ve developed specialized precision granite for HORIZONTAL MEASURING INSTRUMENTS that goes beyond flatness. Our bases for horizontal arms feature embedded kinematic mounts, precisely aligned datum rails, and optional active thermal shielding—all calibrated to ISO 10360 standards. In a recent validation study with a Tier-1 automotive supplier, our granite-based horizontal CMM maintained volumetric accuracy of ±(2.8 + L/250) µm across a 6-meter envelope, outperforming a competing steel-framed system by 37% in long-term repeatability tests.
Critically, ZHHIMG treats every metrology platform as a holistic system—not a collection of parts. The coordinate measuring machine granite machine base isn’t an afterthought bolted to a frame; it is the frame. All guideways, bearings, and encoder scales are referenced directly to the granite surface during final assembly, eliminating cumulative errors from intermediate mounting layers. This approach reduces setup time, simplifies calibration, and—most importantly—ensures that tactile and optical data live in the same true coordinate space.
We also reject shortcuts. Some manufacturers use reconstituted stone or epoxy-granite blends to reduce cost and weight. While acceptable for light-duty applications, these composites lack the long-term stability required for certified metrology. At ZHHIMG, every base ships with full material certification—including density, porosity, thermal expansion coefficient, and flatness maps—so quality engineers can validate traceability to international standards.
Our commitment has earned us a quiet reputation among leaders in aerospace, medical device manufacturing, and electric vehicle production. One U.S.-based EV battery manufacturer recently deployed a fleet of ZHHIMG granite-based hybrid stations combining touch probes and 3D scanners to inspect cell alignment in gigafactories. By anchoring both sensor types to the same thermally inert granite datum, they achieved cross-validation correlation within 3 µm—something previously deemed impossible on composite tables.
Moreover, sustainability is built into this philosophy. Granite is 100% natural, fully recyclable, and requires no coatings or maintenance beyond routine cleaning. Unlike painted steel frames that chip or corrode, a well-cared-for granite base actually improves with age, developing a smoother surface through gentle use. Many of our installations from the early 2000s remain in daily service with no degradation in performance—a testament to the material’s enduring value.
So as you evaluate your next metrology investment, ask yourself: is your current system resting on a foundation designed for truth—or convenience? If your 3D scans show unexplained noise, if your CMM requires frequent recalibration, or if your measurement uncertainty budget keeps growing, the culprit may lie not in your sensors, but in what supports them.
At ZHHIMG, we invite metrology professionals across North America, Europe, and Asia-Pacific to experience the difference a true granite foundation makes. Visit www.zhhimg.com to explore real-world case studies, download technical white papers on granite selection criteria, or schedule a live demonstration of our integrated platforms. Because in precision measurement, there are no illusions—only solid ground.
Post time: Jan-05-2026

