In today’s global manufacturing landscape, the term coordinate measuring machine—or CMM—is familiar to engineers from Stuttgart to Pune. In Hindi-speaking technical communities, it’s often referred to as “coordinate measuring machine in Hindi” (निर्देशांक मापन मशीन), but regardless of language, its purpose remains universal: to provide traceable, high-accuracy verification of part geometry against design intent. Yet too many companies invest heavily in CMM hardware only to discover that their systems sit underutilized, deliver inconsistent results, or fail to integrate into modern digital workflows. At ZHHIMG, we believe the issue isn’t the concept of the CMM—it’s how it’s implemented, supported, and evolved for 21st-century demands.
The core coordinate measuring machine function has always been straightforward: capture precise X, Y, and Z coordinates from a physical object and compare them to CAD nominal data. But in practice, this simplicity masks layers of complexity—probe calibration, thermal compensation, fixturing repeatability, software interoperability, and operator skill. A CMM is not just a machine; it’s a metrology ecosystem. And when that ecosystem is fragmented—using mismatched components, outdated software, or unstable bases—the result is measurement uncertainty that erodes confidence in every report.
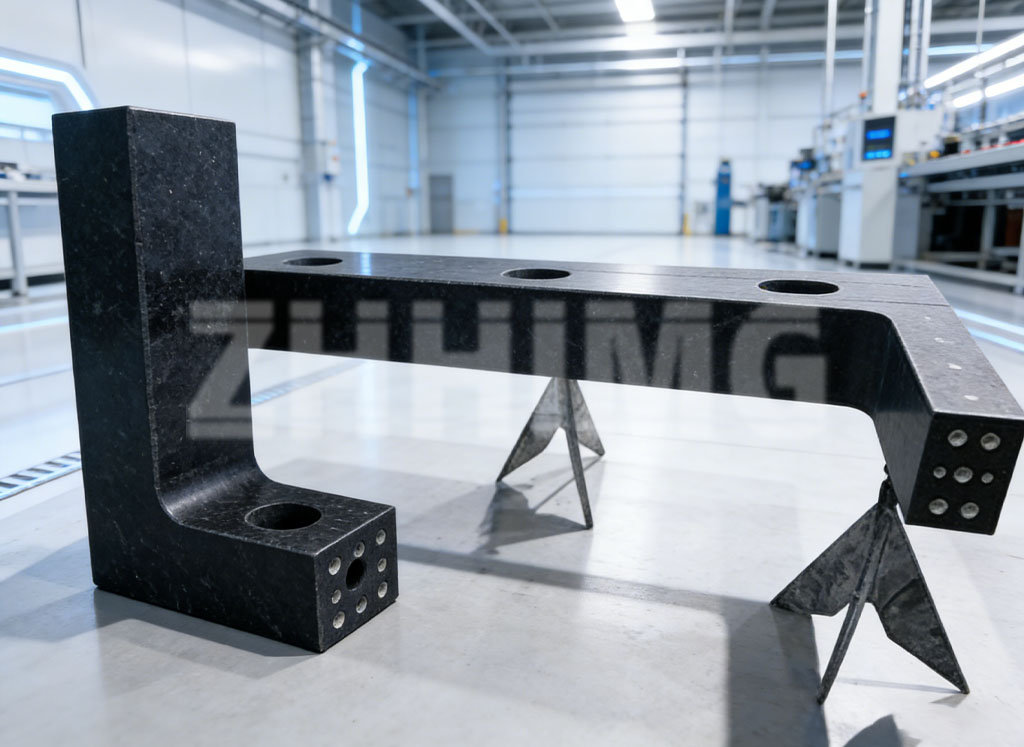
This is where ZHHIMG takes a different approach. We don’t just sell machines; we deliver integrated metrology solutions built on three pillars: mechanical integrity, intelligent software, and real-world usability. Whether you’re deploying a shop-floor portable CMM measuring arm for large aerospace structures or a high-precision bridge-type system for medical implants, every component—from granite base to probe tip—is engineered as a unified whole.
Take portable CMM measuring, for example. These articulated arms offer unmatched flexibility for inspecting large or complex parts that can’t fit inside traditional enclosures. But portability shouldn’t mean compromise. Many users assume that because an arm is “portable,” it must sacrifice accuracy. That’s a myth. The real limitation lies not in the arm itself, but in what it’s mounted on. A portable CMM placed on a wobbly cart or uneven floor introduces kinematic errors before the first point is even taken. At ZHHIMG, our portable solutions include stabilized granite reference plates, magnetic base adapters with vibration-damping isolators, and real-time thermal drift compensation—all designed to ensure that field measurements match lab-grade repeatability.
Moreover, we’ve rethought the user experience. Too often, cmm machine details are buried in dense manuals or locked behind proprietary interfaces. Our systems feature intuitive, multilingual software—including support for regional languages like Hindi—so operators at any skill level can set up inspections, interpret GD&T callouts, and generate audit-ready reports without weeks of training. This isn’t just convenience; it’s democratization of precision. When a technician in Chennai or Chicago can confidently run the same inspection protocol, quality becomes consistent across global supply chains.
But hardware and software alone aren’t enough. True metrology excellence lives in the science behind the measurement: 3D metrology. This discipline goes beyond point collection—it involves understanding uncertainty budgets, probe lobing effects, cosine error in angular approaches, and the influence of surface finish on trigger repeatability. At ZHHIMG, our engineering team includes certified metrologists who work directly with clients to validate measurement strategies against ISO 10360 standards. We don’t just install a machine; we certify its performance in your actual production environment.
Our commitment to 3D metrology rigor extends to hybrid systems as well. Modern manufacturing increasingly blends tactile and optical methods—using touch probes for datum features and structured-light scanners for freeform surfaces. Yet these sensors must share a common coordinate frame, or data fusion becomes guesswork. By anchoring both sensor types to the same thermally stable granite base and calibrating them within a single software environment, we eliminate cross-sensor misalignment. One automotive Tier-1 supplier recently reduced their inspection cycle time by 52% after switching to our integrated CMM-scanner platform—without sacrificing a single micron of accuracy.
We also recognize that not every application needs a fixed installation. For job shops, maintenance depots, or R&D labs, flexibility is key. That’s why our portable CMM measuring portfolio includes wireless arms with onboard processing, cloud-synced measurement plans, and modular fixturing kits that adapt to hundreds of part families. These systems are rugged enough for factory floors yet precise enough for aerospace certification—proving that mobility and metrology can coexist.
Critically, we reject the notion that high performance must come with high complexity. Every ZHHIMG system ships with full documentation—not just technical specs, but practical guidance on best practices, environmental setup, and troubleshooting. We even provide video tutorials in multiple languages, including explanations of core coordinate measuring machine function principles in simple terms. Because if your team doesn’t understand why a measurement is valid, they can’t trust it—even if the numbers look right.
Our reputation has grown quietly but steadily among leaders in aerospace, electric vehicles, precision machining, and medical device manufacturing. We’re not the loudest brand, but we’re consistently ranked among the top global providers for long-term reliability, service responsiveness, and total cost of ownership. Clients stay with us for decades—not because of marketing, but because their ZHHIMG systems keep delivering accurate, defensible data year after year.
So as you evaluate your metrology strategy, ask yourself: does your current CMM truly serve your production goals—or is it a bottleneck disguised as a solution? If you’re spending more time compensating for environmental drift than analyzing part quality, if your cmm machine details feel like a black box, or if your portable CMM measuring results vary between shifts, it may be time for a more holistic approach.
At ZHHIMG, we invite engineers, quality managers, and operations leaders across North America, Europe, and Asia to experience metrology that works—not just in theory, but on the floor. Visit www.zhhimg.com to explore case studies, download our white paper on 3D metrology best practices, or request a live demo tailored to your application. Because in precision manufacturing, data is only valuable when it’s trustworthy.
Post time: Jan-05-2026

