In the high-stakes world of advanced manufacturing, the difference between a breakthrough product and a costly recall often comes down to a few microns. As engineers and quality control managers, we constantly push the limits of what is possible, yet we sometimes overlook the most fundamental element of the inspection process: the physical plane where the measurement begins. At ZhongHui Intelligent Manufacturing (ZHHIMG), we have observed a significant shift in how global industries approach the precision test. It is no longer enough to simply own high-end sensors or laser interferometers; the environment and the substrate must be equally sophisticated to ensure that the data collected is both repeatable and legally defensible.
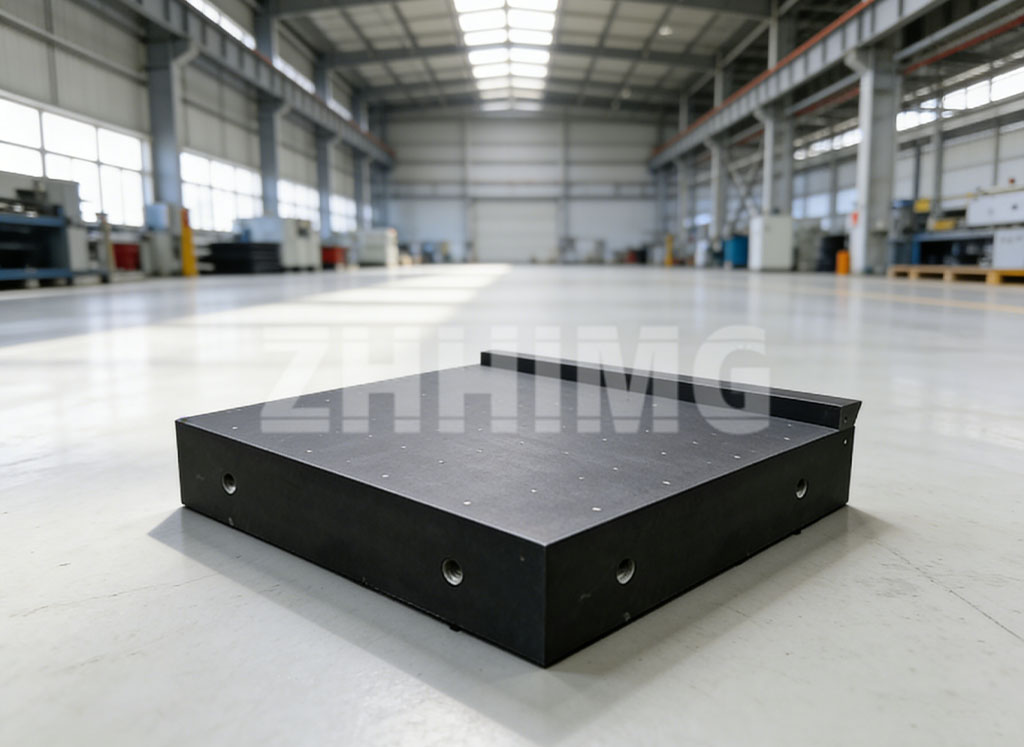
When a laboratory prepares for a rigorous precision test, the primary focus is usually on the electronic or optical test instruments being used. While these devices are marvels of modern engineering, their readings are only as reliable as the surface they sit upon. This is why the granite measuring surface plate has remained the gold standard for decades. Unlike cast iron or synthetic materials, natural black granite provides a vibration-dampening, non-magnetic, and thermally stable environment that is essential for maintaining test precision. At ZHHIMG, we specialize in the deep science of this stone, selecting only the finest gabbro with specific mineral densities to ensure that when your instruments provide a reading, that reading is a reflection of the part’s geometry, not the surface’s instability.
The relationship between the operator and their precision test instruments is one built on trust. If an inspector cannot trust that their base is perfectly flat, every subsequent calculation is cast into doubt. We often see facilities investing hundreds of thousands of dollars into digital test instruments, only to place them on an aging or substandard surface. This creates a bottleneck in quality assurance. To achieve true test precision, the entire metrology setup must act as a single, harmonious unit. Our role at ZHHIMG is to provide that harmonious foundation. By utilizing advanced hand-lapping techniques that have been perfected over generations, we create surfaces that exceed the most stringent international standards, providing a level of flatness that allows your tools to perform at their theoretical maximum.
One might wonder why a granite measuring surface plate is so uniquely suited for the modern precision test. The answer lies in the material’s unique internal structure. Natural granite has been seasoned by the earth for millions of years, resulting in a material that is virtually free of the internal stresses found in man-made castings. When a technician conducts a high-sensitivity precision test, even the slight expansion caused by a hand resting on a metal plate can skew results. Granite’s low coefficient of thermal expansion mitigates this risk. Furthermore, should a granite plate be accidentally scratched, it does not develop a “burr” like metal does; instead, the crater simply remains below the surface, meaning the test precision of the surrounding area is not compromised.
In the landscape of global metrology, ZHHIMG has earned its reputation as one of the top-tier manufacturers because we understand the nuances of the precision test environment. We don’t just sell stone; we provide the architectural integrity required for high-tech validation. Our clients in the aerospace and semiconductor sectors rely on our test instruments support structures because they know that a ZHHIMG surface is a guarantee of consistency. When you are measuring components for a jet engine or a microchip lithography machine, “close enough” is never an option. The demand for absolute test precision is what drives our innovation, leading us to develop custom-sized plates and integrated damping systems that were once thought impossible.
Beyond the physical product, there is a cultural aspect to metrology that we deeply value. A high-quality granite measuring surface plate is a symbol of a company’s commitment to excellence. It tells your auditors and your customers that you do not cut corners. When an external inspector walks into a lab and sees a well-maintained ZHHIMG surface plate supporting the test instruments, there is an immediate level of confidence in the facility’s output. This professional authority is what helps our clients win contracts and maintain their status as leaders in their respective fields. We take immense pride in being the foundation upon which these industrial reputations are built.
Looking ahead, the requirements for the precision test will only become more demanding. As we move toward Industry 4.0 and beyond, the integration of sensors directly into the granite measuring surface plate is becoming a reality. ZHHIMG is at the forefront of this evolution, researching ways to make our “passive” stone components “intelligent” parts of the data stream. However, no matter how much technology we add, the core requirement remains: a flat, stable, and reliable surface. By staying true to the fundamental principles of stone metrology while embracing the future of test precision, ZHHIMG ensures that your laboratory is ready for whatever challenges the next decade of manufacturing brings.
Post time: Dec-30-2025

