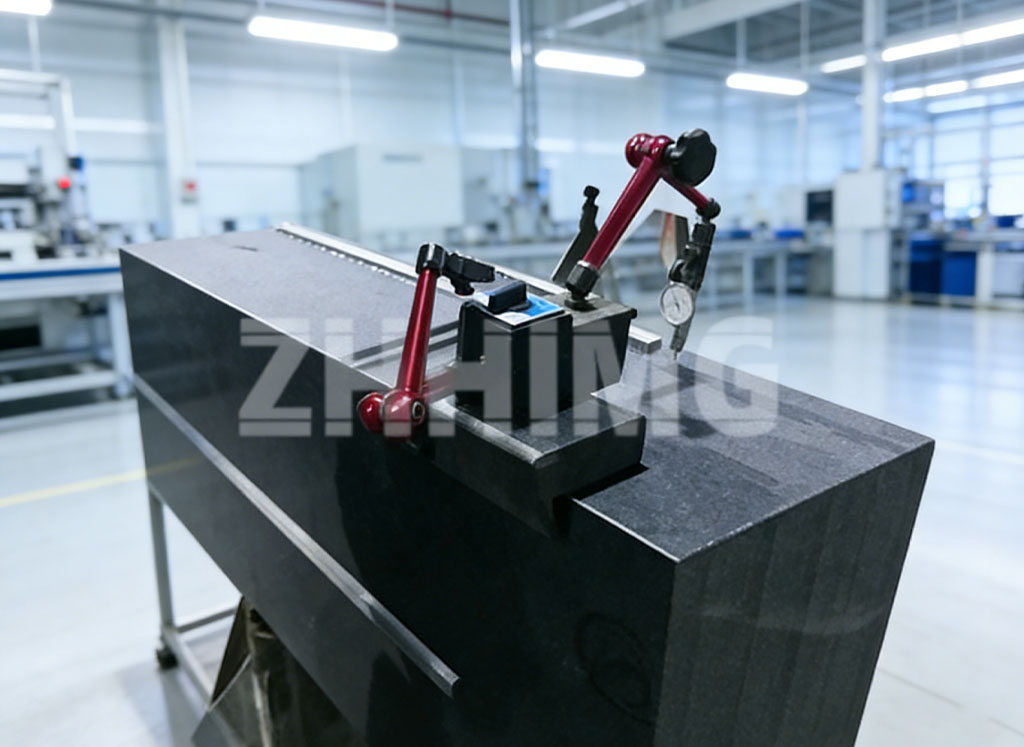
In the world of high-precision metrology, every micron matters. Whether you’re calibrating aerospace components, verifying automotive powertrain geometries, or ensuring semiconductor tooling alignment, the performance of your measuring system hinges not just on its sensors or software—but on what lies beneath it all: the machine base. At ZHHIMG, we’ve long recognized that true precision begins with an immovable, thermally stable, and vibration-dampening foundation. That’s why our Bilateral Measuring Machine systems are engineered from the ground up—literally—on custom-crafted granite machine bases that set a new benchmark for industrial metrology.
Granite isn’t just a material choice; it’s a strategic engineering decision. Unlike steel or cast iron beds that expand, contract, or warp with ambient temperature shifts, natural granite offers near-zero thermal expansion over typical workshop ranges. This inherent stability is critical for bilateral measuring machines, which rely on symmetrical probing arms or dual-axis optical systems to capture dimensional data from both sides of a workpiece simultaneously. Any distortion in the base—even at the sub-micron level—can introduce systematic errors that compromise repeatability. Our granite machine bed for Bilateral Measuring Machine platforms is precision-lapped to flatness tolerances within 2–3 microns across spans exceeding 3 meters, ensuring that both measurement axes remain perfectly co-planar under real-world operating conditions.
But why granite specifically for bilateral architectures? The answer lies in symmetry. A Bilateral Measuring Machine doesn’t just measure—it compares. It evaluates parallelism, coaxiality, and symmetry by capturing data points from opposing sides in a single synchronized sweep. This demands a base that is not only flat but also isotropic in stiffness and damping characteristics across its entire surface. Granite delivers this uniformity naturally. Its crystalline structure absorbs high-frequency vibrations from nearby machinery, foot traffic, or even HVAC systems—damping them far more effectively than metallic alternatives. In fact, independent tests have shown granite bases reduce resonant amplification by up to 60% compared to cast iron, directly translating into cleaner probe signals and lower measurement uncertainty.
At ZHHIMG, we don’t source off-the-shelf slabs. Each granite bed for Bilateral Measuring Machine is quarried from select deposits known for consistent density and low porosity—typically black diabase or fine-grained gabbro from certified European and North American sources. These blocks undergo months of natural aging before precision machining to relieve internal stresses. Only then do they enter our climate-controlled metrology hall, where master artisans hand-scrape reference surfaces and integrate threaded inserts, grounding lugs, and modular fixturing rails without compromising structural integrity. The result? A precision granite platform that serves as both mechanical backbone and metrological reference plane—eliminating the need for secondary calibration artifacts in many applications.
Our commitment extends beyond the base itself. For clients handling large-scale components—such as aircraft fuselage sections, wind turbine hubs, or railcar bogies—we’ve developed the Large Gantry Measuring Machine base series. These systems combine extended granite runways (up to 12 meters in length) with reinforced steel gantries riding on air bearings, all anchored to the same monolithic granite datum. This hybrid architecture merges the scalability of bridge-type CMMs with the intrinsic stability of granite, enabling volumetric accuracy of ±(2.5 + L/300) µm across massive work envelopes. Crucially, the bilateral sensing heads mounted on these gantries inherit the granite’s thermal neutrality, ensuring that measurements taken at dawn match those recorded at midday—without constant recalibration.
It’s worth noting that not all “granite” is created equal. Some competitors use composite resins or reconstituted stone to cut costs, sacrificing long-term stability for short-term savings. At ZHHIMG, we publish full material certification for every base—including density, compressive strength, and coefficient of thermal expansion—so our clients know exactly what they’re building upon. We’ve even collaborated with national metrology institutes to validate our granite’s performance in ISO 10360-compliant test protocols, proving that our precision granite for Bilateral Measuring Machine systems consistently outperforms industry benchmarks in both short-term repeatability and long-term drift resistance.
For industries where traceability is non-negotiable—medical device manufacturing, defense contracting, or EV battery production—this level of foundational rigor isn’t optional. It’s existential. A misaligned stator housing or an asymmetric brake rotor might pass functional tests today but fail catastrophically in the field tomorrow. By anchoring your metrology workflow to a ZHHIMG granite machine base, you’re not just buying hardware; you’re investing in measurement confidence that endures for decades. Our oldest installed bilateral system, commissioned in 2008 for a German turbine manufacturer, still operates within original specifications—no re-lapping, no recalibration drift, just unwavering accuracy year after year.
Moreover, sustainability is woven into this philosophy. Granite is 100% natural, fully recyclable, and requires no coatings or treatments that degrade over time. Unlike painted steel frames that chip or corrode, a well-maintained granite base actually improves with age, developing a smoother surface through gentle use. This longevity aligns with the growing emphasis on total cost of ownership in advanced manufacturing—where uptime, reliability, and lifecycle value outweigh upfront price tags.
So, when evaluating your next metrology investment, ask yourself: is your current system resting on a foundation designed for precision—or merely convenience? If your bilateral measurements show unexplained variance, if your environmental compensation routines consume excessive cycle time, or if your calibration intervals keep shrinking, the issue may lie not in your probes or software, but in what supports them.
At ZHHIMG, we invite engineers, quality managers, and metrology specialists across North America, Europe, and Asia-Pacific to experience the difference a true granite foundation makes. Visit www.zhhimg.com to explore case studies from aerospace leaders who reduced inspection uncertainty by 40% after switching to our bilateral systems, or watch live demos of our Large Gantry Measuring Machine base in action. Because in precision measurement, there are no shortcuts—only solid ground.
And sometimes, that ground is literally granite.
Post time: Jan-05-2026

