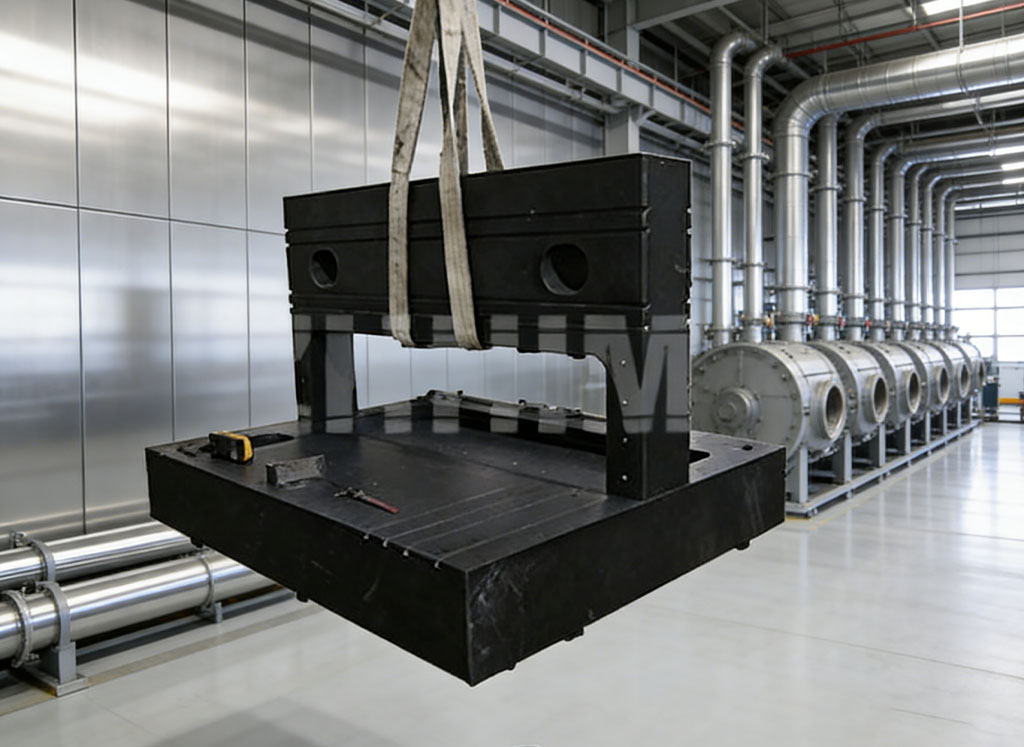
When engineers and machinists search online for terms like “granite surface table price” or “granite machinist block,” they’re often looking for more than just a flat surface. They’re seeking reliability—a stable, repeatable reference that won’t warp, corrode, or drift with temperature changes. Yet too many buyers end up compromising, lured by low upfront costs without realizing that the real value lies not in the stone itself, but in how it’s selected, processed, certified, and integrated into their workflow.
At ZHHIMG, we’ve spent nearly two decades redefining what a measuring bench out of natural hard stone should be. It’s not merely furniture for the shop floor—it’s the primary datum for every critical dimension you verify, every alignment you perform, and every quality decision you make. And whether you call it a granite reference plate, a surface table, or a machinist’s block, its role remains the same: to be the unwavering truth against which all else is measured.
Natural granite has been the material of choice for precision work since the early 20th century, and for good reason. Its crystalline structure offers exceptional dimensional stability, minimal thermal expansion (typically 6–8 µm/m·°C), and inherent vibration damping—properties no synthetic composite can fully replicate. But not all granite is created equal. The black diabase we use at ZHHIMG, sourced from geologically stable quarries in northern Scandinavia and Inner Mongolia, contains over 95% quartz and feldspar, giving it a hardness exceeding 7 on the Mohs scale and porosity low enough to resist oil and coolant absorption.
This matters because a true granite reference plate isn’t just flat—it’s inert. It doesn’t swell in humidity, crack under localized load, or degrade after years of scribing and probing. Every plate we produce undergoes a minimum 18-month natural aging process before any machining begins, ensuring internal stresses are fully relieved. Only then do we lap the surface using computer-controlled diamond slurries to achieve flatness tolerances as tight as Grade AA (≤ 2.5 µm over 1 meter)—certified per ISO 8512-2 and ASME B89.3.7.
Yet even the finest stone becomes unreliable if it’s mounted incorrectly. That’s why we treat the measuring bench out of natural hard stone as a complete system—not just a slab on legs. Our engineered stands feature stress-relieved steel frames with three-point kinematic mounting, eliminating twist from uneven floors. Optional features include ESD-safe coatings for electronics assembly, embedded T-slots for fixturing, and vibration-isolation pads rated for environments near CNC machines or stamping presses.
For clients needing portability without sacrificing accuracy, we offer modular granite machinist blocks—compact, calibrated reference surfaces designed for field calibration, toolroom verification, or mobile inspection carts. These aren’t “mini plates.” Each block is individually lapped and certified, with flatness guaranteed to ±3 µm regardless of size. One aerospace MRO facility in Texas now uses them to validate torque wrench setups directly on hangar floors, eliminating trips back to the metrology lab.
Now, let’s talk about granite surface table price—a topic often shrouded in confusion. A quick online search might show prices ranging from 300to5,000 for seemingly identical 36″x48″ plates. But look closer. Does the lower-priced option include a traceable calibration certificate? Is the flatness verified across the entire working surface—or just at a few points? Has the material been tested for hardness uniformity and residual stress?
At ZHHIMG, our pricing reflects transparency and total value. Yes, our granite surface table price may be higher than bargain-bin alternatives—but it includes full interferometric flatness mapping, NIST-traceable documentation, lifetime technical support, and a recalibration reminder service. More importantly, it includes peace of mind. When an auditor from Boeing or Siemens walks into your facility, they don’t care how cheap your plate was—they care whether it’s defensible.
In fact, several of our long-term clients have conducted cost-of-ownership analyses showing that ZHHIMG plates reduce measurement uncertainty by 30–50%, leading to fewer false rejects, faster PPAP approvals, and smoother customer audits. In regulated industries, that’s not just efficiency—it’s competitive advantage.
What truly distinguishes ZHHIMG in the global marketplace is our refusal to treat granite as a commodity. While others cut corners to chase volume, we collaborate. Whether you’re outfitting a university teaching lab or calibrating turbine blades for a nuclear power plant, our engineers work with you to select the right grade, size, finish, and support system. Need a custom granite reference plate with threaded inserts for automated probing? Done. Require a measuring bench out of natural hard stone with integrated grounding for ESD-sensitive components? We’ve built dozens.
Our commitment hasn’t gone unnoticed. Independent industry reports—including the 2025 Global Precision Infrastructure Review—consistently rank ZHHIMG among the world’s top five suppliers of metrology-grade granite systems, citing our blend of traditional craftsmanship and digital traceability as unmatched. But we measure success not by rankings, but by client retention: over 80% of our business comes from repeat customers or referrals.
So as you plan your next metrology investment, ask yourself: Am I buying a surface—or a standard?
If your answer leans toward the latter, you’re thinking like a true precision professional. And at ZHHIMG, we’re here to ensure that standard is built on rock—literally.
Visit www.zhhimg.com today to explore our full range of granite surface tables, request a personalized granite surface table price quote, or schedule a virtual consultation with our metrology specialists. Whether you need a compact granite machinist block for your tool crib or a full-scale measuring bench out of natural hard stone for your calibration lab, we’ll help you build your quality system on a foundation that never wavers.
Because in precision engineering, there’s no substitute for truth. And truth starts with granite—done right.
Post time: Dec-29-2025

