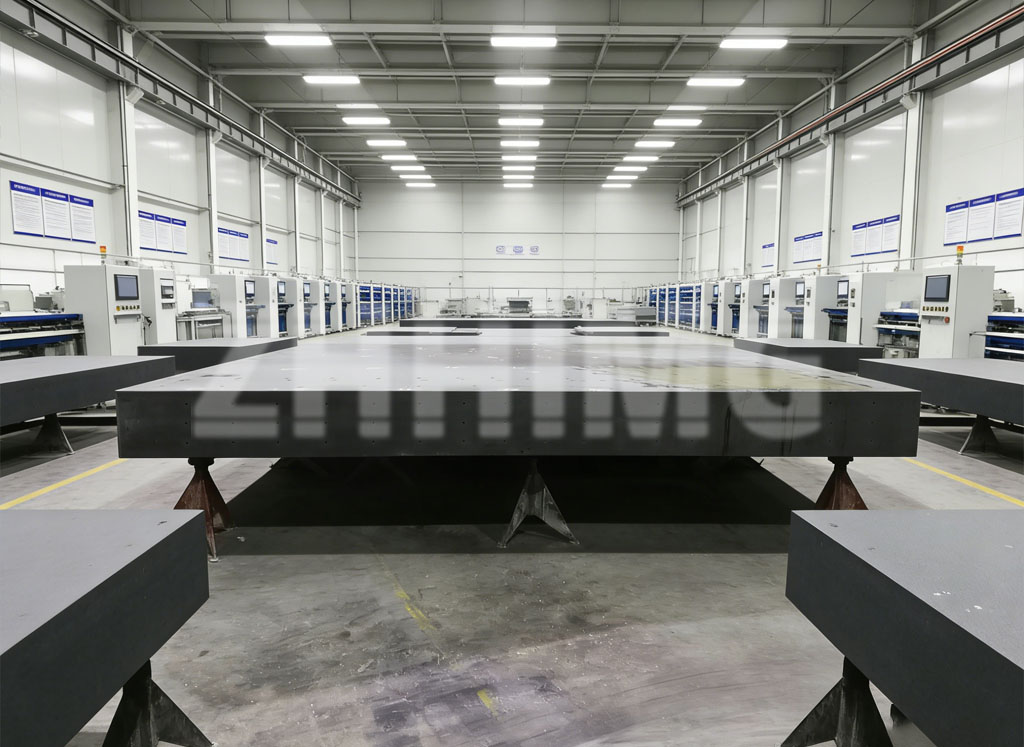
In the ultra-precision manufacturing sector, the “datum” is the single most important element of any quality control process. Whether you are operating a complex Coordinate-measuring machine or performing manual height gauge inspections, your results are tethered to the accuracy of your base. However, maintaining that accuracy requires a nuanced understanding of metrology equipment care and the physical properties of the materials involved.
At ZHHIMG, we frequently consult with global partners on the optimal maintenance of their reference surfaces and the structural choices for their next-generation machine builds. This article provides a comprehensive look at the critical differences between testing and calibration, the role of NDT, and the eternal debate of granite versus steel.
Testing vs. Calibration: Understanding the Lifecycle of a Granite Surface Plate
In many quality manuals, the terms granite surface plate testing and granite surface plate calibration are used interchangeably. For a metrology professional, however, they represent two distinct levels of verification.
What is Surface Plate Testing?
Testing is often the preliminary or “spot-check” phase. It involves verifying a specific attribute—typically local flatness or repeat reading accuracy—using a repeat-reading gauge. The goal of testing is to answer a binary question: Is this plate still within its graded tolerance (e.g., Grade 00)? It is a diagnostic tool used between formal service intervals to ensure that wear patterns haven’t compromised the immediate work area.
What is Surface Plate Calibration?
Calibration is a holistic and documented process that aligns the plate with international standards (such as ISO 8512-2 or ASME B89.3.7). Granite surface plate calibration involves mapping the entire surface using high-precision electronic levels or laser interferometers. This process results in a “topographical map” of the plate, identifying high and low spots. Calibration doesn’t just check accuracy; it quantifies the deviation and provides the traceability required for ISO-certified facilities.
ZHHIMG Insight: While testing catches daily wear, calibration ensures long-term traceability. If your testing fails, your next step is calibration followed by professional resurfacing (lapping).
Non-Destructive Testing (NDT) Methods for Metrology Equipment
To maintain the high standards required for metrology equipment, manufacturers must ensure that the internal structures of their bases are free from flaws without damaging the precision-finished surfaces. This is where NDT methods for metrology come into play.
-
Ultrasonic Testing (UT): Often used for granite machine bases to detect internal fissures or density inconsistencies that might lead to dimensional instability over time.
-
Visual Inspection with Optical Aids: Utilizing high-magnification optical comparators or digital microscopes to inspect the crystalline structure of granite for signs of “pitting” or thermal micro-cracking.
-
Dye Penetrant Inspection: Occasionally used on cast iron machine bases or steel structures to find surface-breaking cracks that are invisible to the naked eye.
-
Acoustic Emission: A sophisticated method to monitor the “stress” within a large machine structure during high-speed operation, ensuring the vibration isolation table and base are performing as engineered.
Material Warfare: Granite vs. Steel Machine Bases
When engineering the foundation of a high-precision tool, the choice between a granite vs steel machine base is often a trade-off between speed, cost, and absolute stability.
The Case for Granite
Granite remains the undisputed champion for metrology because of its dimensional stability.
-
Thermal Inertia: Granite reacts slowly to temperature changes. Unlike steel, which expands rapidly when a technician stands too close or a sunlight beam hits the machine, granite maintains its geometry.
-
Vibration Damping: Natural stone has a superior damping ratio. It absorbs the high-frequency “chatter” of motors and actuators, which is essential for a Coordinate-measuring machine to achieve sub-micron uncertainty.
The Case for Steel
Steel is often chosen for its modulus of elasticity and ease of fabrication.
-
Structural Integration: Steel bases can be welded and modified more easily than stone. They are often lighter for the same volume, which is a factor in machines that must be frequently relocated.
-
The Downside: Steel requires active compensation for thermal growth and often needs to be filled with mineral composites or concrete to match the damping properties of a solid granite machine base.
Integrating the Ecosystem: From Surface Plates to Isolation Tables
A precision surface plate is only as good as the floor it sits on. In modern facilities, we see a shift toward integrated systems. A high-grade granite plate is often mounted on a vibration isolation table to protect it from seismic interference. This “nested” approach to stability ensures that the metrology equipment can operate at its theoretical limit, regardless of the activity in the rest of the factory.
At ZHHIMG, we don’t just provide the granite; we provide the engineering expertise to integrate these materials into your specific workflow. Whether you are calibrating a legacy plate or designing a new 5-axis measurement system, understanding the interplay of these materials and maintenance protocols is key.
Conclusion: Securing Your Measurement Future
The accuracy of your production starts with the stability of your datum. By distinguishing between granite surface plate testing and formal calibration, and by choosing the inherent stability of a granite machine base over steel for critical applications, you are investing in the longevity of your quality program.
Precision is a journey of constant verification. As NDT methods become more accessible and material science advances, ZHHIMG remains at the forefront, ensuring that your “zero” remains exactly where it should be.
Post time: Jan-29-2026

