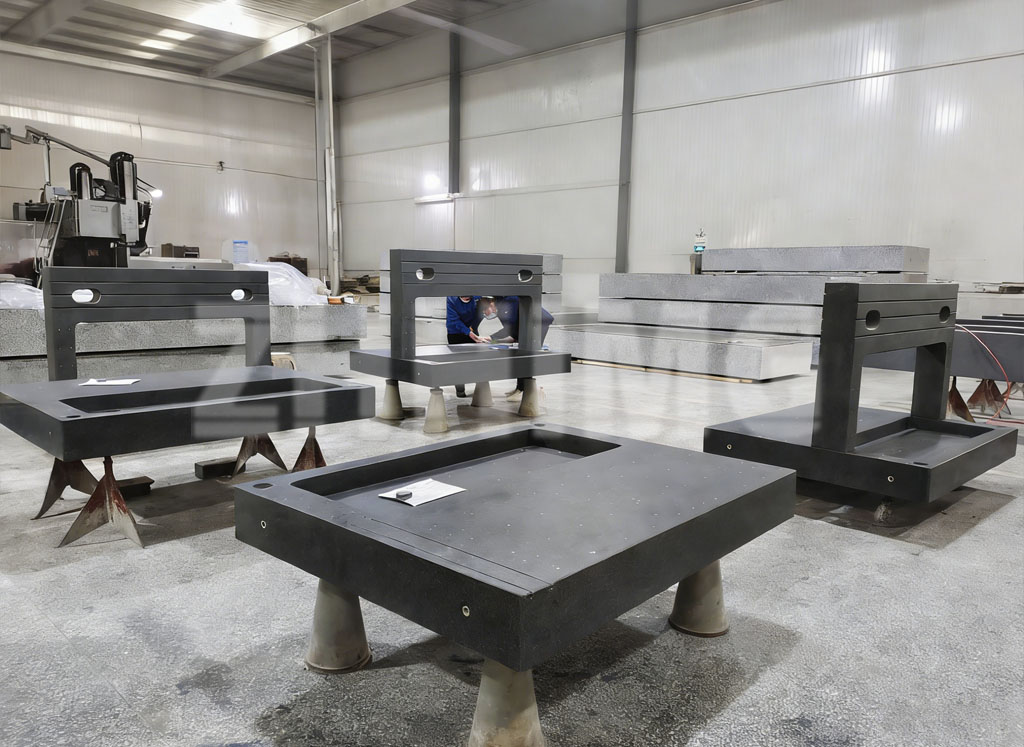
The landscape of industrial metrology and scientific analysis is undergoing a profound transformation. As semiconductors become more densely packed and materials science pushes into the atomic realm, the equipment used to inspect these advancements must meet an unprecedented standard of physical stability. In the design of high-performance Surface inspection equipment and sophisticated analytical tools, the structural foundation is no longer an afterthought—it is the primary constraint on performance. At ZHHIMG, we have seen that the transition from traditional metallic frames to integrated granite structures is the defining factor for OEMs aiming to achieve sub-micron precision in Automated Optical Inspection mechanical components and delicate imaging systems.
The drive toward zero-defect manufacturing in the electronics industry has placed immense pressure on Automated Optical Inspection (AOI) systems. These machines must process thousands of components per minute, with high-resolution cameras moving at extreme speeds and stopping instantly to capture images. This operational mode creates significant kinetic energy that can lead to structural resonance. By utilizing granite for the primary Automated Optical Inspection mechanical components, engineers can leverage the material’s natural high mass and internal damping properties. Unlike steel, which can vibrate for milliseconds after a high-speed stop, granite absorbs these micro-oscillations almost instantaneously. This allows the AOI sensors to settle faster, directly increasing the throughput and reliability of the inspection process without compromising on accuracy.
Furthermore, as we move into the domain of non-destructive testing and crystalline analysis, the requirements become even more stringent. In the world of crystallography, an X-ray diffraction machine base must provide a near-perfect reference plane. X-ray diffraction (XRD) relies on the precise measurement of angles at which X-rays are deflected by a sample. Even a deviation of a few arc-seconds caused by the thermal expansion of a machine base can render the data useless. This is precisely why a granite base for X-ray diffraction has become the industry standard for laboratory-grade instruments. The exceptionally low coefficient of thermal expansion of black granite ensures that the spatial relationship between the X-ray source, the sample holder, and the detector remains constant, regardless of the heat generated by the electronic components or ambient temperature shifts in the lab.
The application of granite in Surface inspection equipment extends beyond mere vibration damping. In modern surface metrology—where laser profilers and white-light interferometers are used to map the topography of silicon wafers or optical lenses—the flatness of the reference surface is the “limit of truth.” A ZHHIMG granite base for X-ray diffraction or surface scanning is lapped to such extreme tolerances that it provides a stable “zero point” across the entire work envelope. This inherent flatness is vital for the air-bearing stages often found in these machines. The non-porous and uniform nature of high-quality black granite allows for a consistent air film, enabling the frictionless motion necessary for scanning surfaces at the nanometer scale.
Beyond the technical performance, the longevity of granite in industrial environments provides a significant economic advantage for European and American OEMs. In the lifecycle of a piece of Surface inspection equipment, the mechanical frame is often the only component that cannot be easily upgraded. While cameras, software, and sensors evolve every few years, the X-ray diffraction machine base or the AOI chassis must remain dimensionally stable for a decade or more. Granite does not rust, does not suffer from internal stress relief over time, and is resistant to the chemical vapors often found in semiconductor cleanrooms. This ensures that the initial investment in high-quality Automated Optical Inspection mechanical components pays dividends in the form of reduced maintenance and long-term calibration stability.
At ZHHIMG, our approach to manufacturing these critical components combines the best of natural material selection with advanced precision engineering. We understand that a granite base for X-ray diffraction is more than just a piece of stone; it is a calibrated mechanical part. Our process involves rigorous material aging and hand-lapping by master technicians to reach Grade 00 or Grade 000 specifications. By integrating precision-threaded inserts and customized cable raceways directly into the granite, we provide a “plug-and-play” structural solution that allows equipment manufacturers to focus on their core optical and electronic innovations.
In conclusion, the future of precision inspection is built on the stability of the foundation. Whether it is the rapid-fire environment of Surface inspection equipment on a production line or the quiet, exacting requirements of a laboratory X-ray diffraction machine base, granite remains the peerless choice. By choosing ZHHIMG as a partner for Automated Optical Inspection mechanical components, manufacturers are not just choosing a supplier—they are securing the structural integrity that will define the next generation of scientific and industrial breakthroughs.
Post time: Jan-15-2026

