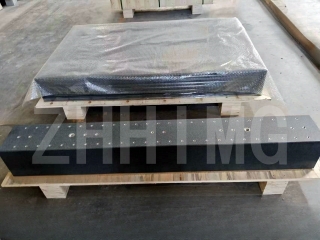
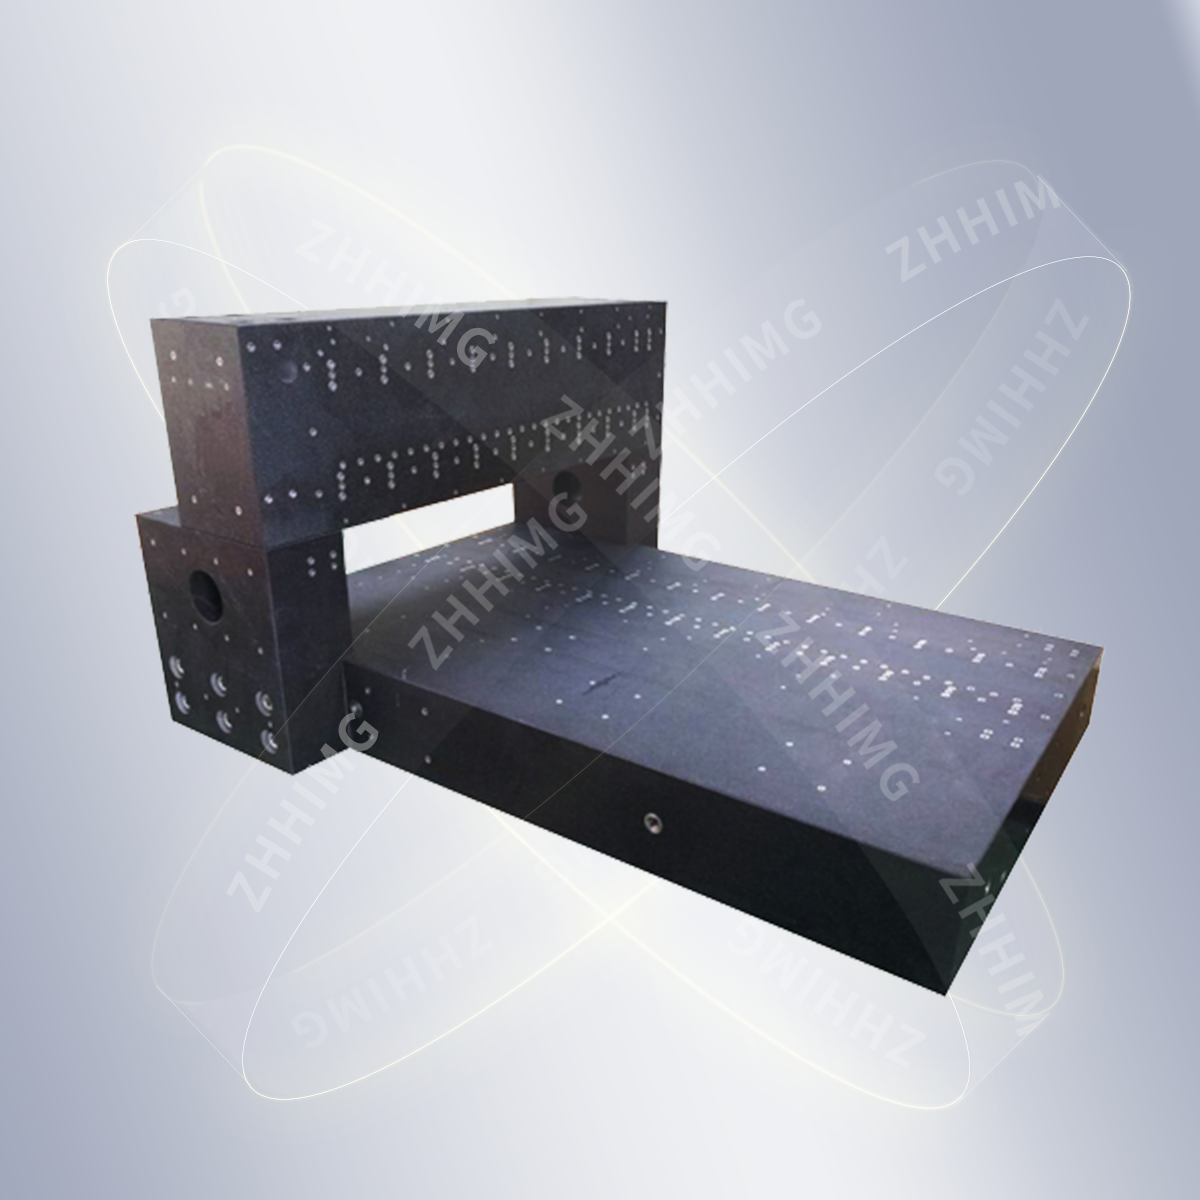
In the field of precision measurement, the calibration accuracy of the three-coordinate measuring machine (CMM) directly affects the reliability of the measurement results. Granite rulers with a precision of 1μm, due to their stable physical properties and extremely high manufacturing accuracy, have become ideal tools for calibrating three-coordinate measuring machines. The following will provide you with a detailed introduction to the specific steps for calibrating a three-coordinate measuring machine using a ZHHIMG® 1μm precision granite ruler.
I. Preparations before calibration
Check the environmental conditions: Ensure that the measurement environment temperature is stable at 20±1℃, and the humidity is controlled between 40% and 60%. At the same time, minimize the vibration interference caused by personnel movement and equipment operation. The constant temperature and humidity workshop environmental standards of ZHHIMG® are precisely designed to ensure that granite products are not affected by environmental factors during the production process. This also indirectly proves the importance of environmental conditions for precise measurement.
Cleaning equipment and tools: Use a lint-free cloth and a special cleaner to carefully wipe the worktable, probe and the surface of the granite ruler of the three-coordinate measuring machine to ensure there is no dust, oil stains or other impurities, so as not to affect the measurement accuracy.
Verify the certificate and status: Confirm that the calibration certificate attached to the granite ruler is within its validity period, and there are no obvious scratches, damages or other defects on the surface of the ruler. Every product of ZHHIMG® undergoes strict testing and is equipped with authoritative testing certificates to ensure that the product precision meets the standards.
Ii. Calibration Operation Steps
Place the granite ruler: Place the 1μm precision granite ruler steadily on the worktable of the three-coordinate measuring machine, and try to make it parallel to the coordinate axes of the measuring machine. Use a special fixture or magnetic base to fix it to prevent the ruler from moving during the measurement process.
Probe initialization and positioning: Start the three-coordinate measuring machine and perform initialization operations on the probe to ensure it is in a normal working state. Then, control the measuring head of the measuring machine to slowly move above the starting measurement point of the granite ruler, getting ready for the measurement.
Take the average value of multi-point measurement: Along the length direction of the granite ruler, uniformly select at least five measurement points (such as the starting point, 1/4 point, midpoint, 3/4 point, and end point), control the probe to conduct contact measurement on each measurement point in sequence, and record the measurement data of each point. The high precision of ZHHIMG® granite straightedges can ensure that these measurement data truly reflect the accuracy status of the measuring machine.
Error calculation and calibration: Compare the data recorded by the measuring machine with the nominal value of the granite ruler to calculate the error value of each measurement point. According to the error situation, the coordinate system of the three-coordinate measuring machine is adjusted and calibrated accordingly by using the calibration software of the three-coordinate measuring machine until the measurement error is controlled within the allowable range.
Repeated measurement verification: After the calibration is completed, conduct multi-point measurements on the granite ruler again to verify the calibration effect. If the error between the measurement result and the nominal value is within ±1μm, it indicates that the calibration is successful. If the error is relatively large, the operation steps need to be rechecked. If necessary, contact professionals for handling.
Iii. Maintenance and Precautions after Calibration
Properly store the ruler: After the calibration work is completed, wipe the granite ruler clean with a clean lint-free cloth, place it in a dedicated packaging box or protective case, and store it in a dry and constant-temperature environment to prevent the ruler from getting damp or damaged.
Regular calibration: To ensure the long-term measurement accuracy of the measuring machine, it is recommended to calibrate the three-coordinate measuring machine with a 1μm precision granite ruler every 3 to 6 months. At the same time, when the measuring machine has undergone transportation, maintenance or significant changes in environmental conditions, calibration should also be carried out in a timely manner.
Standard operation: During daily use, strictly follow the operating procedures to use the three-coordinate measuring machine and granite ruler to avoid damage to the equipment or tools due to improper operation, which may affect the measurement accuracy.
Through the above steps, the ZHHIMG® 1μm precision granite ruler can be effectively used to calibrate the three-coordinate measuring machine, ensuring the accuracy and reliability of its measurement results and providing a strong guarantee for precise measurement work.
Post time: Jun-18-2025


