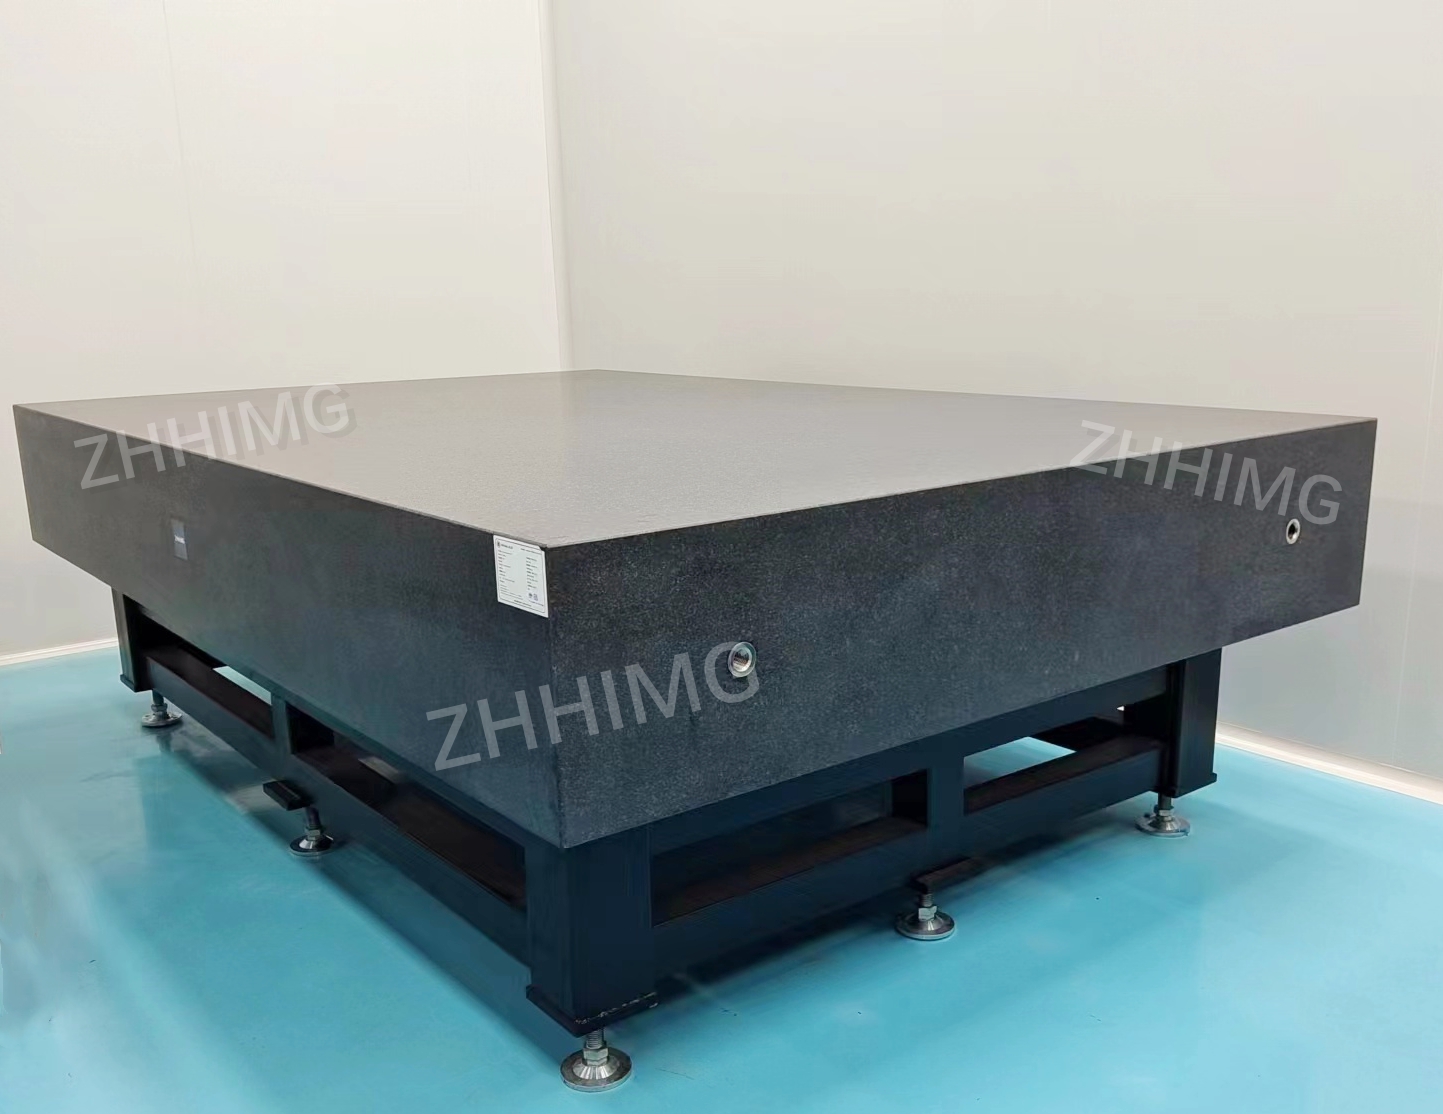
In the field of industrial manufacturing, the three-coordinate measuring machine (CMM) is a key device for achieving precise dimensional inspection and form and position tolerance assessment, and its measurement accuracy directly affects product quality. Granite precision platforms, with their outstanding performance, have become the ideal base choice for three-coordinate measuring machines, providing reliable guarantees for high-precision detection.
1. Ultra-high precision and stability
Granite precision platforms have excellent dimensional stability and an extremely low coefficient of thermal expansion, which is only (4-8) ×10⁻⁶/℃. In the complex and changeable industrial environment, even if the temperature fluctuates, the dimensional change of the platform is negligible, effectively avoiding measurement errors caused by thermal deformation. Meanwhile, the internal crystal structure of granite is dense. After billions of years of geological action, the internal stress has been naturally eliminated, and there will be no aging deformation. This ensures the long-term stability of the measurement reference and keeps the positioning accuracy and repeat positioning accuracy of the three-coordinate measuring machine at a high level all the time.

Second, excellent anti-vibration and damping performance
The vibration generated by the operation of machine tools and the start and stop of equipment in the production workshop can interfere with the detection accuracy of the three-coordinate measuring machine. Granite has excellent damping properties, with a damping ratio of up to 0.05-0.1, which can rapidly attenuate the energy of external vibrations. When external vibrations are transmitted to the platform, granite can suppress the vibrations in a short time, reducing vibration interference during the measurement process, ensuring the contact accuracy between the measurement probe and the workpiece surface, and making the measurement data more accurate and reliable.
Three. High hardness and wear resistance
Granite has a hardness of 6 to 7 on the Mohs scale, a density ranging from 2.7 to 3.1g/cm³, and excellent surface wear resistance. During the long-term use of the three-coordinate measuring machine, frequent loading and unloading of workpieces and movement of measuring probes are less likely to cause wear on the surface of the granite platform. Even after years of use, the platform surface can still maintain good flatness and smoothness, effectively extending the high-precision service life of the three-coordinate measuring machine and reducing equipment maintenance costs.
Fourth, strong chemical stability
In industrial production environments, there are often chemical substances such as cutting fluids and lubricating oils, and some may also be accompanied by corrosive gases. Granite has stable chemical properties, a wide pH tolerance range (1-14), can resist the erosion of common chemical substances, and is not prone to rust or corrosion. This feature not only protects the platform itself but also ensures a clean working environment for the three-coordinate measuring machine, preventing the measurement accuracy and equipment service life from being affected by chemical pollution.
Granite precision platforms, with their advantages of high precision, high stability, vibration resistance, wear resistance and chemical stability, provide a solid foundation for the precise detection of three-coordinate measuring machines and play an irreplaceable role in the quality control link of modern precision manufacturing.
Post time: May-29-2025

