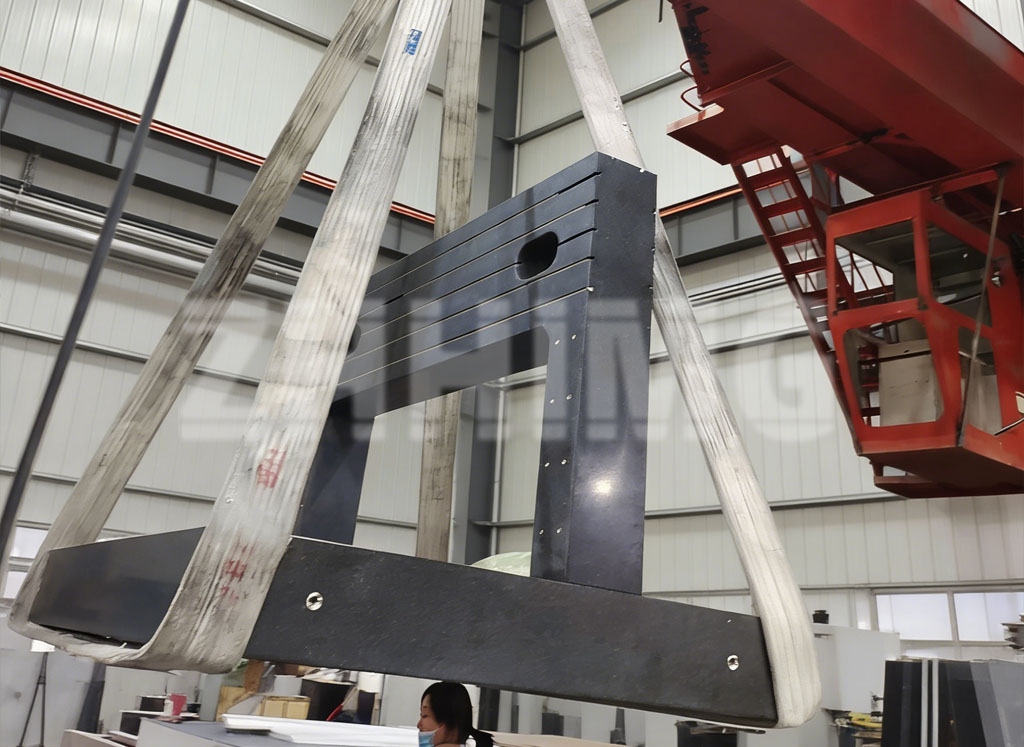
In today’s precision-driven manufacturing environment, reference surfaces like surface plates are more critical than ever. While advanced measuring instruments and digital inspection systems often attract the spotlight, the underlying foundation—what is a surface plate—remains key to accurate measurements, reliable quality, and compliance with international standards.
Recent trends highlight growing attention to types of granite surface plate grades, precision levels for metrology, and proper surface plate inspection procedures. Manufacturers across industries are reevaluating these fundamental components as they seek tighter tolerances, improved repeatability, and better long-term measurement stability.
What Is a Surface Plate and Why It Matters
A surface plate is a flat, stable reference plane used for inspection, layout, and measurement in industrial settings. While it may appear simple, its role is foundational: all measurements performed using height gauges, dial indicators, and other precision tools ultimately rely on the integrity of the surface plate.
Understanding what a surface plate is goes beyond recognizing it as a flat surface. It is a measurement standard that interacts with instruments, environmental factors, and human handling. Any deviation in flatness, stability, or support can propagate errors throughout the measurement chain, impacting product quality and traceability.
Types of Granite Surface Plate Grades: Aligning Accuracy with Application
Not all surface plates are created equal. One of the key decisions manufacturers face is choosing among the types of granite surface plate grades available:
-
Grade 000 – The highest standard, used as a reference for calibrating other plates or precision instruments. Flatness tolerance is extremely tight.
-
Grade 00 – Suitable for inspection and layout in laboratories and precision production areas. Provides a balance between cost and high accuracy.
-
Grade 0 – Designed for routine inspection, shop-floor tasks, and less critical measurements where minor flatness deviations are acceptable.
By matching grade selection with application requirements, manufacturers can optimize measurement accuracy, reduce unnecessary costs, and extend the service life of their plates.
Precision Levels for Metrology: Beyond the Surface
As metrology expectations evolve, attention is increasingly being paid to precision levels for metrology—tools that verify flatness, alignment, and leveling of surfaces. Precision levels are essential for:
-
Checking the horizontal alignment of surface plates
-
Ensuring proper installation and support
-
Verifying calibration readiness
Incorporating precision levels into routine inspection and setup processes helps prevent flatness drift and ensures that measurements remain traceable to national or international standards.
Surface Plate Inspection Procedure: A Systematic Approach
Maintaining accuracy requires a defined surface plate inspection procedure. Modern quality systems emphasize inspection at multiple stages:
-
Visual Check – Identifying scratches, chips, or other surface damage.
-
Flatness Measurement – Using precision levels, autocollimators, or electronic measurement systems to verify tolerance compliance.
-
Support Verification – Ensuring stands and foundations provide even load distribution.
-
Calibration Documentation – Recording results to maintain traceability for audits and quality assurance.
Following a systematic inspection procedure not only extends the life of the surface plate but also ensures measurement reliability across instruments and processes. Integrating Surface Plate Management into Quality Systems
The renewed focus on surface plates reflects a broader industry trend toward integrated measurement systems. No longer treated as passive tools, surface plates are now considered active components in quality assurance. Proper selection of grade, periodic inspection, and verification using precision levels are all critical to:
-
Reducing measurement uncertainty
-
Maintaining repeatable inspection results
-
Meeting metrology standards and customer requirements
By treating surface plates as part of a comprehensive measurement strategy, manufacturers strengthen both compliance and operational confidence.
ZHHIMG’s Insights on Granite Surface Plate Applications
At ZHHIMG, we see customers increasingly prioritizing:
-
Correct types of granite surface plate grades for different applications
-
Routine surface plate inspection procedures to maintain flatness
-
Use of precision levels for metrology to verify installation and calibration readiness
Our approach emphasizes lifecycle performance: selecting high-quality granite, implementing structured inspection procedures, and supporting long-term measurement stability. This ensures that reference surfaces remain reliable foundations for precision instruments across industrial applications.
Looking Forward
As manufacturing tolerances tighten and metrology standards evolve, surface plates remain foundational to precision measurement. Understanding what a surface plate is, selecting the right grade, using precision levels, and following proper inspection procedures are now essential practices for manufacturers aiming to achieve consistent quality and operational reliability.
In the coming years, these best practices will become standard across quality-focused industries, reinforcing the role of surface plates as critical components in modern measurement systems.
Post time: Jan-19-2026
