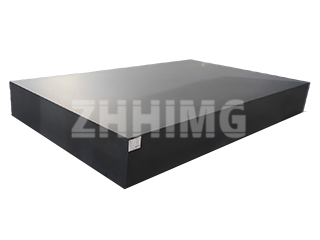
Granite Surface Plate Machining and Maintenance Guide: A precision granite surface plate requires specialized machining and maintenance to ensure its accuracy and longevity. Before Polishing, the granite component must undergo initial machine processing and horizontal adjustment based on triangular positioning principles. After horizontal grinding, if CNC machining cannot achieve the required precision—typically reaching Grade 0 accuracy (0.01mm/m tolerance as specified in DIN 876)—hand finishing becomes necessary for achieving higher precision grades like Grade 00 (0.005mm/m tolerance per ASTM B89.3.7 standards).
The machining process involves several critical steps. First, rough grinding establishes basic flatness, followed by secondary semi-finishing to remove machining marks. Precision grinding, often performed manually, refines the surface to achieve the desired flatness tolerance and surface roughness (Ra value of 0.32-0.63μm, where Ra represents the arithmetic mean deviation of the surface profile). Finally, meticulous inspection ensures compliance with technical standards, with measurement points strategically placed across diagonals, edges, and midlines—typically 10-50 points depending on plate size—to ensure uniform accuracy assessment.
Handling and installation significantly impact precision. Due to granite’s inherent rigidity (Mohs hardness 6-7), improper lifting can cause permanent deformation. For critical applications requiring Grade 00 precision, post-installation hand lapping is essential to restore accuracy compromised during transportation. This attention to detail distinguishes premium precision granite surface plates from standard machined versions.
Maintenance practices directly affect performance and lifespan. Start with thorough cleaning using neutral pH cleaners—avoid acidic substances that can etch the surface. Annual calibration with laser interferometers, traceable to NIST standards, ensures continued accuracy. When placing workpieces, allow thermal equilibration (typically 15-30 minutes) to prevent measurement errors from temperature differentials. Never slide rough objects across the surface, as this can create micro-scratches affecting flatness.
Proper usage guidelines include respecting load limits to prevent structural deformation, maintaining stable environmental conditions (temperature 20±2°C, humidity 50±5%), and using dedicated lifting equipment to avoid cleavage plane damage. Unlike metallic counterparts, granite’s thermal stability (0.01ppm/°C) minimizes environmental influences, but sudden temperature changes should still be avoided.
As a foundational tool in precision metrology, certified granite surface plates (ISO 17025 accredited) serve as the reference standard for dimensional measurements. Their maintenance requires minimal effort—simply wipe clean with a lint-free cloth after use—no special coatings or lubricants are needed. By following these machining and care protocols, precision granite surface plates deliver reliable performance for decades, making them indispensable in calibration laboratories, aerospace manufacturing, and high-precision engineering applications.
Post time: Nov-19-2025

