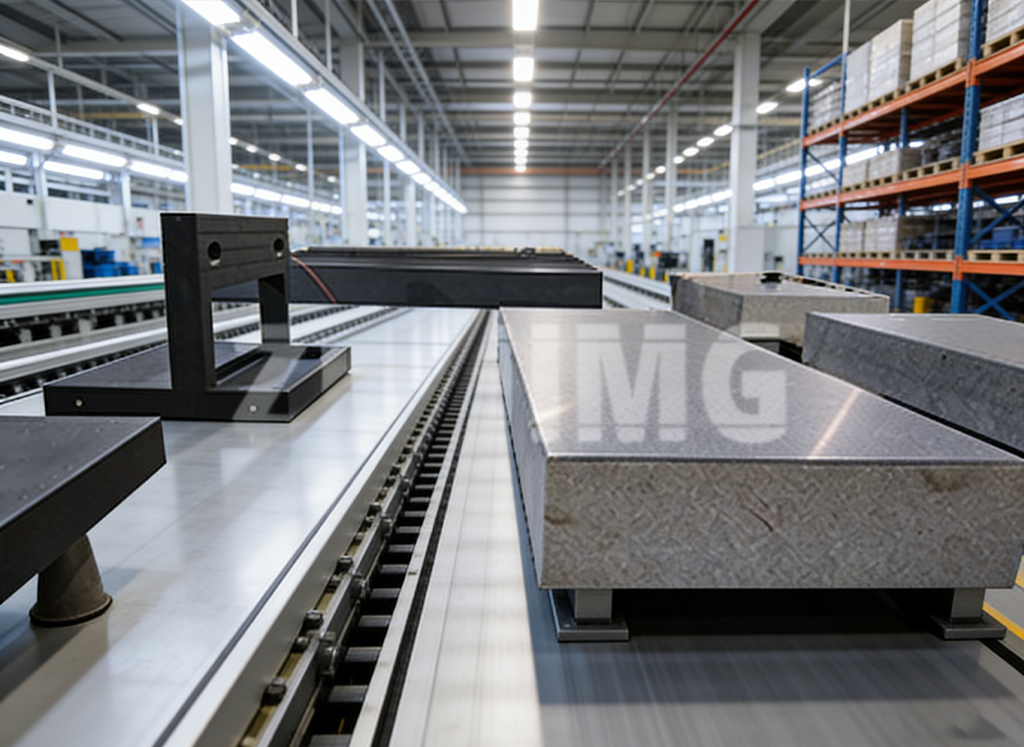
The journey of a Precision Granite Surface Plate from a raw stone block to a certified metrology instrument involves a series of highly specialized manufacturing steps. While initial machining creates the general shape, the final, crucial stage is often the application of lapping treatment. For those in the ultra-precision industry—from aerospace inspection to mold manufacturing—understanding why lapping is indispensable is key to appreciating the true value and performance of this foundational tool.
Lapping is not merely polishing; it is an artisanal, geometric refinement process that directly determines the ultimate accuracy, reliability, and functionality of the granite platform. It is the final, exacting step that transforms a piece of stone into a true, measurable datum plane.
Beyond Machining: The Imperative for Lapping
Initial machining processes, such as large-scale sawing and grinding, are essential for removing bulk material and achieving rough flatness. However, even the finest grinding processes introduce micro-level inconsistencies, including:
-
Subsurface Damage and Stress: Grinding creates microscopic cracks and leaves residual stresses on the surface layer. These stresses can lead to long-term dimensional instability, compromising the promised accuracy of the Granite Components over time.
-
Geometric Imperfections: Grinding tools leave minute, repeating tool marks and a waviness that, while small, is unacceptable for sub-micron precision applications. These imperfections introduce geometric errors that render the plate useless for high-magnification optical or tactile metrology tools.
-
Surface Texture Inconsistency: A ground surface, though flat on a macro scale, lacks the uniform, smooth texture required for effective use with sensitive measuring instruments.
The Purpose of Lapping: Achieving Geometric Truth and Functional Excellence
Lapping is an abrasive process using a fine, controlled slurry to remove material evenly across the entire surface. This process simultaneously refines the geometry and the surface finish, serving several critical purposes:
1. Achieving Nanometer-Level Flatness and Straightness
The primary goal of lapping is to remove the geometric errors left by grinding and achieve the highest possible degree of flatness. For reference-grade Precision Granite Platforms (e.g., Grade 00 or Calibration Grade), the required tolerance often demands flatness deviations measured in the hundreds of nanometers.
-
The Power of Hand Lapping: While automated lapping machines handle large volumes, the most exacting finishes, particularly on complex Granite Machine Structures or small, high-precision Granite Rulers, often rely on the unmatched skill of master lapping technicians. At ZHHIMG®, we rely on craftsmen with decades of experience who can apply specialized pressure and technique to “read” the surface and manually eliminate minute high spots, a process that achieves a certified level of Nanometer-Level Precision unattainable by machine alone. This ensures the plate is a true, mathematically accurate reference plane.
2. Uniform Surface Texture (Finish) for Functionality
Lapping refines the surface texture (often measured in Ra or Rq) to a uniform, non-directional finish, which is critical for the plate’s functional interaction with measuring equipment:
-
Optimized Sliding Resistance: A lapped surface ensures consistent, minimal friction when sliding gauge blocks, height gauges, or reference squares across the plate. This uniform resistance is essential for accurate measurement transfer without introducing drag errors.
-
Effective Wringing and Adhesion: For metrology applications that require gauge blocks or other reference standards to be “wrung” onto the plate surface (a molecular adhesion achieved by highly smooth, parallel surfaces), the uniform, low Ra finish achieved through lapping is mandatory. This wringing capability ensures the highest possible stability and accuracy for stack-up measurements.
-
Controlling Air Film: In applications involving Granite Air Bearings or high-speed linear motor stages mounted onto Granite Components, the precise flatness and finish created by lapping are vital for maintaining a consistent, optimized air film thickness, guaranteeing smooth, frictionless movement.
3. Stress Relief and Long-Term Stability
Beyond geometric and textural improvements, lapping plays a crucial role in the platform’s long-term dimensional stability. The process systematically removes the micro-level surface damage and residual stresses introduced by the aggressive grinding phase.
-
Stress Removal: By carefully and gradually removing the stressed surface layer, lapping prevents the granite from changing its shape over time. This is critical for High-Precision Aerospace Parts inspection, where the plate must hold its certified flatness for years, regardless of environmental shifts. The ZHHIMG® Black Granite, already superior due to its high density (3100 kg/m³) and low CTE, is made even more stable by this stress-relieving final treatment.
The ZHHIMG® Commitment: Precision Rooted in Craftsmanship
The complexity and cost associated with true lapping treatment often lead manufacturers to skip this stage or settle for simple “finish grinding.” However, for ZHHIMG Group, lapping is a non-negotiable step tied directly to our quality maxim: “The precision business can’t be too demanding.”
Every Precision Granite Surface Plate we deliver—from those used as a CMM Base to those serving as laboratory Granite Measuring Rulers—is subjected to this rigorous process within our 10,000 m² Constant Temperature and Humidity Workshop. This commitment, backed by our extensive international certifications (ISO, CE) and global patent portfolio, ensures that when a client places an object on a ZHHIMG® product, they are resting their critical measurement on a foundation of verified, geometric truth.
Lapping is the difference between a functional product and a certified metrology tool—it is the final, perfect refinement that guarantees the required ultra-precision for modern manufacturing.
Post time: Dec-16-2025

