n the precision-driven sectors of modern industry—be it the aerospace giants of North America or the high-end automotive engineers of Europe—there is an unspoken truth that every quality manager eventually learns: your software is only as good as your hardware’s physical foundation. While the digital side of metrology receives much of the spotlight, the real battle for accuracy is won or lost in the material science of the machine itself. When we deal with components that require sub-micron precision, the physical structure of the coordinate measuring machine becomes the most critical variable in the equation. It leads us to a fundamental inquiry for any manufacturer looking to upgrade their facility: in an environment plagued by vibration and temperature fluctuations, how do you ensure your measurements remain absolute?
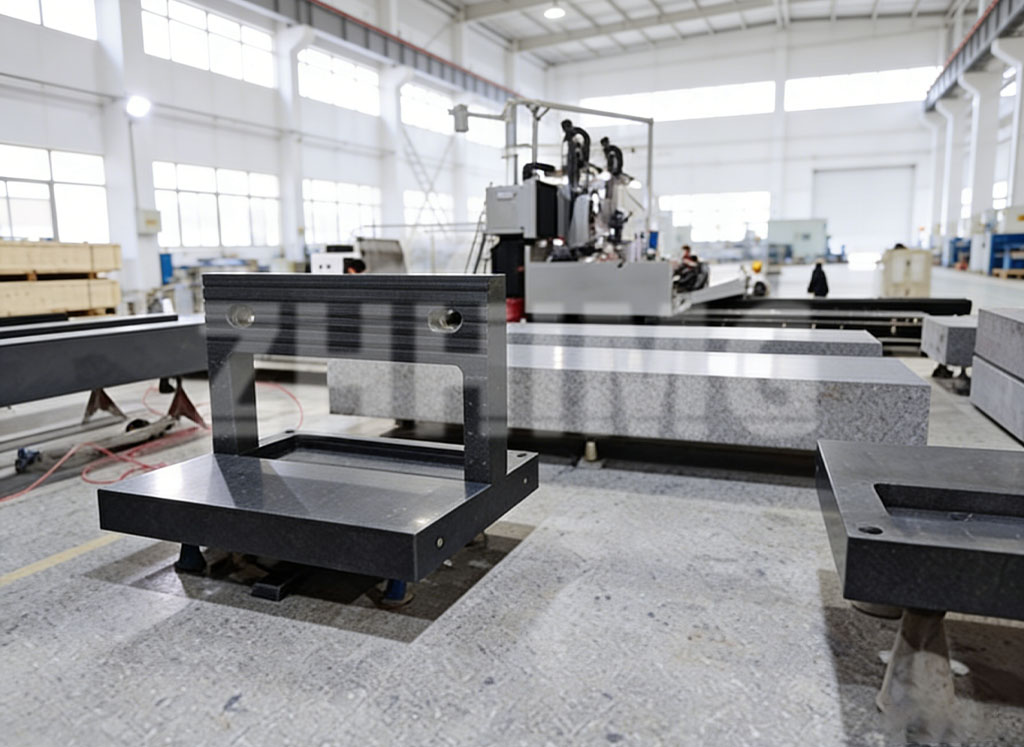
The pursuit of the perfect measurement starts from the ground up, literally. For those dealing with large-scale components like engine blocks, fuselage sections, or heavy industrial molds, a standard bridge-style machine often reaches its physical limits. This is where the Gantry Coordinate Measuring Machine bed enters the conversation as the gold standard for high-volume, high-accuracy inspection. Unlike smaller machines that might suffer from inertia-related “ringing” or structural deflection, a gantry system provides a massive, stable workspace. But the bed of the machine is more than just a place to set a part; it is a meticulously engineered platform designed to isolate the measurement process from the chaos of the factory floor.
What truly elevates a world-class system from a standard one is the choice of material for its guiding surfaces. Many manufacturers have moved away from traditional steel or aluminum rails in favor of the granite rail. The reason is simple: granite is nature’s answer to the problem of instability. It is incredibly dense, practically immune to the corrosive effects of time, and possesses a thermal expansion coefficient that is significantly lower than most metals. When you are performing a complex measurement cycle that takes hours, you cannot afford for your machine’s “skeleton” to grow or shrink because the factory’s air conditioning cycled on or off. By utilizing a granite rail, the machine maintains a rigid, straight path that serves as the unchanging reference for every data point captured.
However, even the finest granite is subject to the laws of friction if not handled correctly. This is where the true engineering “magic” happens in high-end metrology. To achieve the fluid, effortless movement required for high-speed scanning, leading innovators have perfected the use of granite flotation guideways. These systems utilize a thin film of compressed air—often only a few microns thick—to lift the moving components of the coordinate measuring machine off the surface of the granite. This air-bearing technology ensures there is zero mechanical contact between the moving bridge and the stationary rail. Because there is no friction, there is no wear and tear, and more importantly, there is no heat generation. This “flotation” allows the gantry to glide with a level of repeatability that would be physically impossible with mechanical rollers or ball bearings.
For companies that pride themselves on being among the top-tier global providers, the integration of these features is not an optional luxury; it is a technical necessity. When an engineer in a high-tech lab looks at the specifications of a Gantry Coordinate Measuring Machine bed, they are looking for a system that can withstand the test of time. They need to know that a measurement taken today will be identical to one taken five years from now. By combining the natural damping properties of a massive granite base with the friction-free movement of granite flotation guideways, we create a measuring environment that is effectively isolated from the outside world.
Beyond the physical hardware, there is a psychological element to this level of precision. When a client visits a facility and sees a part being inspected on a massive, granite-based gantry system, it communicates a message of authority and uncompromising quality. It tells the customer that this manufacturer isn’t just “checking” the part; they are validating it against the highest possible standards of physics and engineering. In the competitive landscape of international trade, where trust is the most valuable currency, having the right metrology infrastructure is a powerful statement of intent.
As we move further into the era of Industry 4.0, the role of the coordinate measuring machine will only continue to grow. We are seeing more integration of real-time data, where the machine doesn’t just record a failure, but predicts a trend. But no matter how advanced the AI or the software becomes, it will always rely on the physical integrity of the machine. The granite rail and the flotation systems are the silent heroes of this technological revolution. They provide the “truth” that the digital systems need to function.
Ultimately, the choice of a metrology partner comes down to their understanding of these foundational principles. It’s about more than just selling a piece of equipment; it’s about providing a long-term solution for accuracy. Whether you are measuring a delicate medical instrument or a massive aerospace component, the goal remains the same: absolute certainty. By investing in the highest quality materials and the most advanced flotation technologies, manufacturers are not just buying a machine—they are securing the future of their production quality.
Post time: Jan-12-2026

