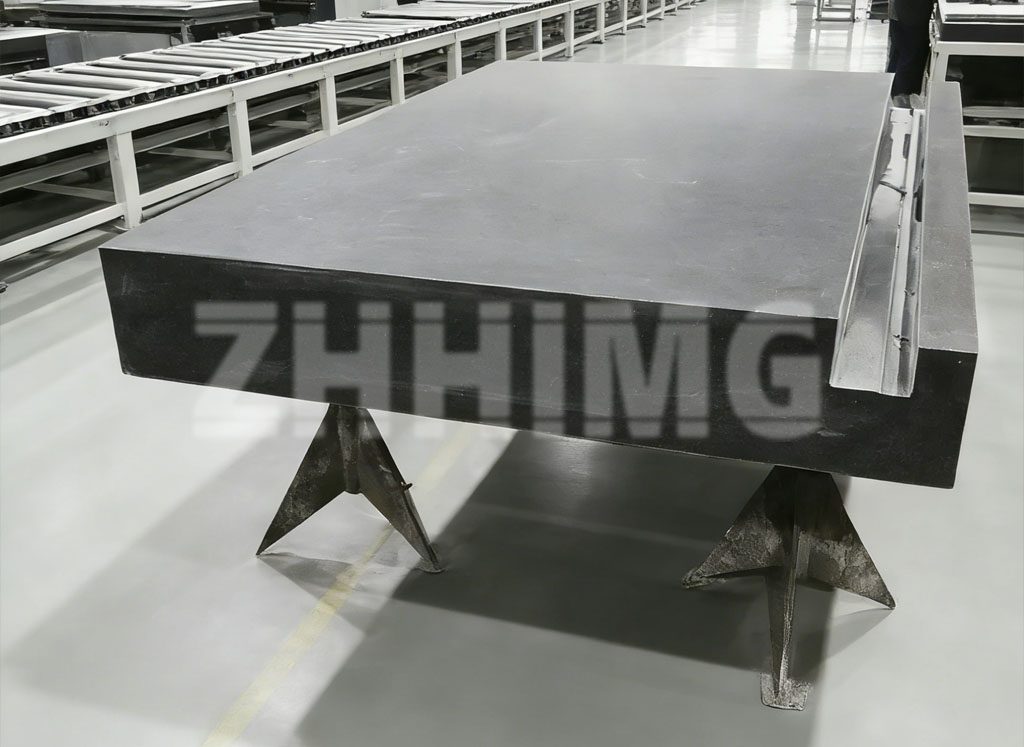
In the high-stakes world of semiconductor fabrication, aerospace engineering, and automotive quality control, precision is often discussed in terms of software algorithms and sensor resolution. However, seasoned metrologists know a deeper truth: a measurement is only as reliable as the surface it rests upon. As we push toward sub-micron tolerances, the roles of the granite machine base and the precision surface plate have transitioned from passive supports to active enablers of accuracy.
At ZHHIMG, we have spent decades perfecting the art and science of industrial stone and mineral casting. This article explores why the foundational infrastructure of your metrology equipment is the most critical investment in your quality lab.
The Physics of Permanence: Why Granite Dominates
When engineers design a Coordinate Measuring Machine (CMM), they face a fundamental material challenge. Metal, while strong, is “restless.” It reacts to temperature, holds internal stress from the casting process, and conducts electricity.
1. Thermal Inertia and Dimensional Stability
Granite’s primary advantage in metrology is its exceptionally low coefficient of thermal expansion. While a steel or cast iron base might expand or contract significantly with a 1°C change in room temperature, a granite machine base remains virtually indifferent. This “thermal inertia” ensures that the coordinate system defined at the start of a shift remains valid until the end.
2. Vibration Damping and Mass
Accuracy is frequently sabotaged by “environmental noise”—the subtle vibrations from a nearby HVAC system or the rhythmic hum of a production line. Granite possesses a natural internal structure that dissipates high-frequency vibrations far more effectively than synthetic metals. By providing a high-mass foundation, it acts as a mechanical filter, ensuring that the probe of a CMM captures the true geometry of the part, not the vibrations of the building.
Shielding Precision: The Role of the Vibration Isolation Table
For the most sensitive metrology equipment, such as white-light interferometers or ultra-high-accuracy CMMs, even the natural damping of granite is not enough. This is where the vibration isolation table becomes essential.
Modern isolation systems utilize pneumatic or active electronic damping to decouple the measurement environment from the floor. By floating a several-ton granite base on a cushion of air, we can achieve a “seismic silence.” At ZHHIMG, we integrate these isolation technologies directly into our custom base designs, providing a turn-key solution for laboratories located in high-vibration industrial zones.
Beyond the Stone: The ZHHIMG Engineering Standard
Crafting a precision surface plate is a process that balances heavy machinery with delicate hand-finishing. Our facility utilizes state-of-the-art CNC cutting, but the final Grade 00 or 000 flatness is achieved through manual lapping—a skill passed down through generations of ZHHIMG craftsmen.
The Evolution of the Precision Surface Plate
The surface plate is the “Global Datum” of any workshop. If the plate is not perfectly flat, every height gauge reading and every manual inspection performed upon it is fundamentally flawed. We ensure our plates are:
-
Non-Magnetic and Non-Conductive: Essential for measuring sensitive electronic components.
-
Burr-Free: Unlike metal, if granite is accidentally scratched, it does not raise a burr that could throw off future measurements.
-
Wear-Resistant: Our specific gabbro-diabase granite selection offers a hardness that resists the abrasive nature of daily industrial use.
Case Study: Optimizing CMM Performance in Automotive Powertrains
A leading European EV manufacturer recently approached ZHHIMG to resolve a repeatability issue in their stator inspection process. Despite using a world-class Coordinate Measuring Machine, their readings fluctuated throughout the day.
Our analysis revealed that the culprit was thermal drift in their existing cast iron base and floor-borne vibration from a nearby stamping press. By replacing the foundation with a ZHHIMG custom-engineered granite machine base integrated with a passive vibration isolation table, the client saw a 40% reduction in measurement uncertainty and a 15% increase in throughput due to reduced recalibration downtime.
Engineering the Future of Metrology
As we look toward the future of “Industry 4.0,” the demand for automated, high-speed inspection will only grow. This requires bases that can handle the dynamic forces of high-acceleration CMM bridges without flexing. ZHHIMG is currently pioneering research into mineral casting composites that combine the stability of granite with the design flexibility of cast iron, allowing for integrated cooling channels and complex internal geometries.
In the pursuit of perfection, the foundation is everything. Whether you are setting up a new quality lab or retrofitting an existing inspection line, choosing the right material for your metrology equipment is a decision that impacts your yield, your reputation, and your bottom line.
Conclusion
Precision is not a static achievement; it is a continuous battle against physics. At ZHHIMG, we provide the armor for that battle. From the world’s flattest precision surface plates to the most complex granite machine bases, we ensure that your measurements are built on a foundation of absolute certainty.
Post time: Jan-29-2026

