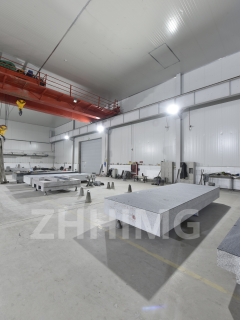
A granite inspection plate is a crucial piece of equipment used by professionals in the precision processing industry to ensure accurate measurements and precision processing. Assembling, testing, and calibrating a granite inspection plate requires careful attention to detail and a step-by-step approach. In this article, we will discuss the important steps involved in assembling, testing, and calibrating a granite inspection plate.
Step 1: Assembling the Granite Inspection Plate
The first step in assembling a granite inspection plate is to inspect the surface for any damage or cracks. If there is any damage, it is recommended to return the plate for a replacement. Next, clean the surface of the plate using a cotton cloth to remove any dirt and debris.
Once the surface is clean, secure the plate onto a flat surface using a clamp or bolt, and attach the leveling feet to the underside of the plate. Ensure that the leveling feet are correctly installed, as this will be critical to ensure the accuracy of the measurements.
Step 2: Testing the Granite Inspection Plate
The next step is to test the granite inspection plate for accuracy. This involves using a precision gauge block to check the flatness of the surface and to ensure that the surface is parallel to the base of the plate.
Place the gauge block onto the surface of the plate and use a feeler gauge to check for any gaps between the block and the surface. If there are any gaps, adjust the leveling feet until the gauge block is fully supported on the surface without any gaps.
Step 3: Calibrating the Granite Inspection Plate
Once the surface of the granite inspection plate has been tested for accuracy, the next step is to calibrate the plate. Calibration is important to ensure that the plate is measuring accurately, and any deviations are corrected.
To calibrate the plate, use a dial indicator to measure any deviation from the flat surface of the plate. With the dial indicator set up at a fixed distance from the surface of the plate, gently slide the plate to measure any deflection. Record the measurements and use shims or other methods to correct any deviation.
Conclusion
Assembling, testing, and calibrating a granite inspection plate is critical for professionals in the precision processing industry to ensure accurate measurements and precision processing. As a final step, it is recommended to periodically check the surface of the plate for damage and recalibrate whenever necessary to ensure that it is in optimal condition for use. By following the steps outlined in this article, professionals can ensure that their granite inspection plates meet the high standards required in the precision processing industry.
Post time: Nov-28-2023

