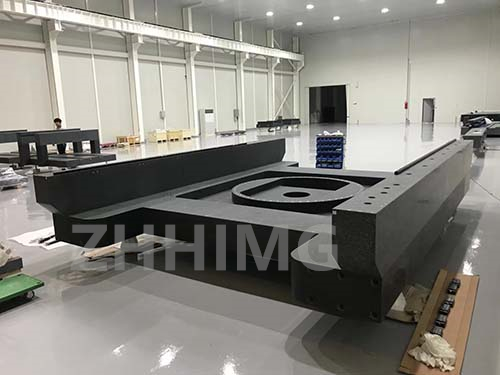
Granite machine bases are commonly used in industrial computed tomography products for their superior rigidity and stiffness, which helps to reduce vibrations and improve the accuracy of measurement results. However, assembling and calibrating a granite machine base can be a complex and time-consuming process. In this article, we will discuss the steps involved in assembling, testing, and calibrating a granite machine base.
Step 1: Assembling the Granite Base
The first step in assembling a granite machine base is to ensure that all components are clean and free of any dust or debris. This is important because any dirt or debris can affect the accuracy of the measurement results. Once the components are clean, follow the manufacturer's instructions to assemble the granite base.
During the assembly process, it is important to ensure that all components are aligned correctly, and that all screws and bolts are tightened to the manufacturer's recommended torque settings. It is also important to check that the base is completely level using a spirit level.
Step 2: Testing the Granite Base
Once the granite base is assembled, it is important to test it for accuracy and stability. This can be done by using a laser interferometer, which is a device that measures the accuracy of the machine's movements. The laser interferometer will provide information on any errors in the movement of the machine, such as deviations from a straight line or circular motion. Any errors can then be corrected before calibrating the machine.
Step 3: Calibrating the Granite Base
The final step in the process is to calibrate the granite base. Calibration involves adjusting the parameters of the machine to ensure that it is accurate and produces consistent results. This can be done using a calibration fixture, which is a device that simulates the CT scanning process and allows the operator to adjust the parameters of the machine.
During calibration, it is important to ensure that the machine is calibrated for the specific materials and geometries that will be scanned using the machine. This is because different materials and geometries can affect the accuracy of the measurement results.
Conclusion
Assembling, testing, and calibrating a granite machine base for industrial computed tomography products is a complex process that requires attention to detail, precision, and expertise. By following the manufacturer's instructions and using the appropriate tools and equipment, operators can ensure that the machine is accurate, stable, and calibrated for the specific materials and geometries that will be scanned using the machine.
Post time: Dec-19-2023

