
When it comes to the assembly, testing and calibration of a granite base for an LCD panel inspection device, it is important to ensure that the process is carried out with the highest level of precision and attention to detail. In this article, we will provide you with a step-by-step guide on how to assemble, test and calibrate a granite base for an LCD panel inspection device, taking into consideration all the necessary safety precautions and best practices.
Step 1: Gathering the Materials and Tools Needed
To begin, it is important to gather all the necessary materials and tools needed for the assembly process. These materials include the granite base, screws, bolts, washers, and nuts. The tools needed include a screwdriver, pliers, wrench, level, and a measuring tape.
Step 2: Preparing the Workstation
Before starting the assembly process, it is important to ensure that the workstation is clean and free from any debris or dust. This will help avoid any contamination of the materials and tools needed for the assembly process, as well as prevent any accidents or injuries.
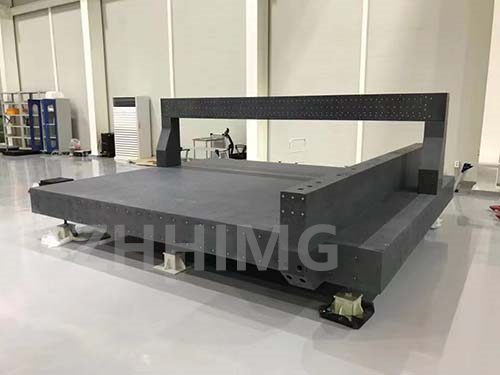
Step 3: Assembling the Granite Base
Once the workstation is prepared, the assembly process can begin. Start by placing the granite base on the workstation table and attach the metal legs to the base using screws and nuts. Make sure that each leg is securely attached and level with the other legs.
Step 4: Testing the Stability of the Granite Base
After the legs are attached, test the stability of the granite base by placing a level on the surface of the base. If the level shows any imbalance, adjust the legs until the base is level.
Step 5: Calibrating the Granite Base
Once the base is stable, calibration can begin. Calibration involves determining the flatness and levelness of the base to ensure high accuracy. Use a straight edge or a precision level to check the flatness and levelness of the base. If adjustments need to be made, use a plier or a wrench to adjust the legs until the base is perfectly flat and level.
Step 6: Testing the Granite Base
After calibration is completed, test the stability and accuracy of the granite base by placing a weight in the center of the base. The weight should not move or shift from the center of the base. This is a sign that the granite base is accurately calibrated and that the inspection device can be mounted on it.
Step 7: Mounting the Inspection Device on the Granite Base
The final step in the assembly and calibration process is to mount the LCD panel inspection device on the granite base. Attach the device firmly to the base using screws and bolts and check for stability and accuracy. Once you are satisfied, the calibration process is complete, and the granite base is ready to use.
Conclusion
By following these simple steps, you can assemble, test and calibrate a granite base for your LCD panel inspection device with ease. Remember, safety precautions should always be taken when working with heavy materials and tools. A properly calibrated granite base will help ensure that your LCD panel inspection device is accurate and reliable for years to come.
Post time: Nov-01-2023