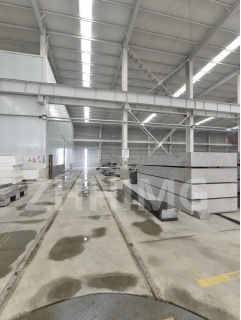
Granite inspection plates are widely used in the precision processing industry because of their high hardness, low thermal expansion, and excellent stability. They serve as a reference surface for measuring, testing, and comparing the accuracy of machined parts. Over time, however, the surface of a granite inspection plate can become damaged or worn due to a variety of factors such as scratches, abrasions, or stains. This can compromise the accuracy of the measuring system and affect the quality of the finished products. Therefore, it is important to repair the appearance of the damaged granite inspection plate and recalibrate its accuracy to ensure reliable and consistent results.
Here are the steps to repair the appearance of the damaged granite inspection plate and recalibrate its accuracy:
1. Clean the surface of the granite inspection plate thoroughly to remove any dirt, debris, or oily residue. Use a soft cloth, non-abrasive cleaner, and warm water to gently wipe the surface. Do not use any acidic or alkaline cleaners, abrasive pads, or high-pressure sprays as they can damage the surface and affect the measurement accuracy.
2. Inspect the surface of the granite inspection plate for any visible damage such as scratches, dents, or chips. If the damage is minor, you may be able to repair it using an abrasive polishing compound, diamond paste, or a special repair kit that is designed for granite surfaces. However, if the damage is severe or extensive, you may need to replace the entire inspection plate.
3. Polish the surface of the granite inspection plate using a polishing wheel or pad that is compatible with granite. Apply a small amount of polishing compound or diamond paste onto the surface and use low-to-medium pressure to buff the surface in a circular motion. Keep the surface wet with water or coolant to prevent overheating or clogging. Repeat the process with finer polishing grits until the desired smoothness and shine are achieved.
4. Test the accuracy of the granite inspection plate using a calibrated reference surface such as a master gauge or gauge block. Place the gauge on different areas of the granite surface and check for any deviations from the nominal value. If the deviation is within the permissible tolerance, the plate is considered accurate and can be used for measuring.
5. If the deviation exceeds the tolerance, you need to recalibrate the granite inspection plate using a precision measuring instrument such as a laser interferometer or a coordinate measuring machine (CMM). These instruments can detect the deviations in the surface and calculate the correction factors needed to bring the surface back to the nominal accuracy. Follow the manufacturer's instructions to set up and operate the measuring instrument and record the calibration data for future reference.
In conclusion, repairing the appearance of a damaged granite inspection plate and recalibrating its accuracy are essential steps to maintain the reliability and precision of a measuring system. By following the above steps, you can restore the surface of the plate to its original state and ensure that it meets the required standards for accuracy and repeatability. Remember to handle the granite inspection plate with care, protect it from impact, and keep it clean and dry to prolong its lifespan and performance.
Post time: Nov-28-2023

