
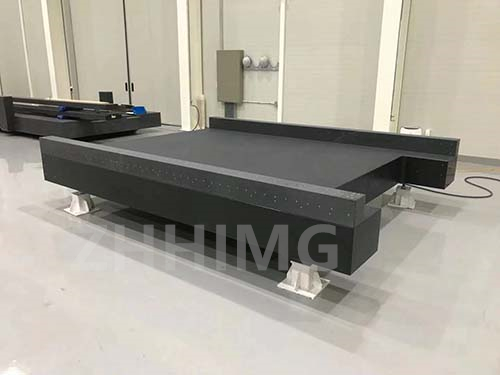
Precision black granite is a popular material used in the manufacturing of various high precision and high-tech products. This granite is known for its excellent stability, hardness, and ability to withstand wear and tear. However, over time, precision black granite parts can suffer damages due to various reasons, including aging, wear and tear, and accidental damage. When this happens, it is essential to repair the appearance of the damaged precision black granite parts and recalibrate the accuracy to ensure they remain functional and efficient. In this article, we will take a closer look at how to repair the appearance of damaged precision black granite parts and recalibrate the accuracy.
Step 1: Inspect the Granite Parts
Before repairing the damaged precision black granite parts, it is essential to inspect them thoroughly to determine the level and extent of the damage. This will help you determine whether the damage has affected the accuracy of the parts or just the appearance. Inspecting the granite parts will also help you decide on the best approach to repair the damage effectively.
Step 2: Clean the Damaged Area
Once you have identified the damaged area, the next step is to clean it thoroughly to remove any dirt, debris, or oil that may interfere with the repair process. Use a soft cotton cloth and a cleaning solution that is specifically formulated for granite surfaces. Apply the cleaning solution to the damaged area and let it sit for a few minutes before wiping it off with a clean, dry cloth.
Step 3: Fill in the Cracks
After cleaning the damaged area, the next step is to fill in any cracks, chips, or scratches. Use a granite repair kit that contains a two-part epoxy filler to fill in the damaged area. Mix the epoxy according to the manufacturer's instructions and apply it carefully to the damaged area, making sure to fill in all the cracks and chips. Allow the epoxy to dry for at least 24 hours before proceeding to the next step.
Step 4: Sand the Surface
Once the epoxy has dried, the next step is to sand the surface to create a smooth and even finish. Use a fine-grit abrasive pad to sand the surface, taking care not to damage the surrounding area. Sand the surface until it is smooth and even, and the repaired area blends seamlessly with the surrounding granite surface.
Step 5: Recalibrate the Accuracy
After repairing the damaged area and sanding the surface, the final step is to recalibrate the accuracy of the precision black granite parts. This step is critical to ensure that the parts function correctly and efficiently. Recalibration involves using specialized equipment to measure the precision of the granite parts and adjusting them to ensure they meet the required accuracy standards. This step should only be carried out by qualified professionals with the necessary experience and equipment.
In conclusion, repairing the appearance of damaged precision black granite parts and recalibrating their accuracy requires careful attention to detail and specialized equipment. By following the steps above, you can effectively repair the damage to your precision black granite parts, ensuring they remain functional and efficient for years to come. So, if your precision black granite parts have suffered damage, don't panic. Seek the help of qualified professionals, and you'll have your parts up and running again in no time!
Post time: Jan-25-2024