
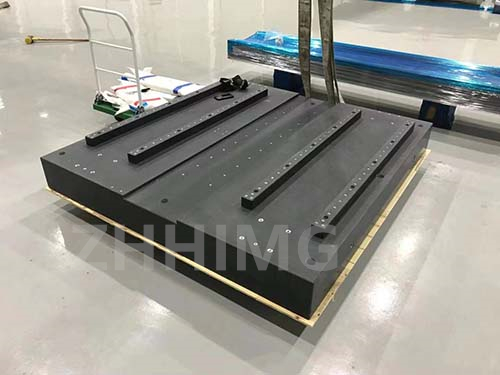
Precision granite assembly is a critical component in an LCD panel inspection device. It provides a flat and stable surface for laying out and testing electronic components, especially LCD panels. Due to constant use, the granite assembly may suffer from damages and lose its accuracy, which can affect the quality of LCD panel inspection. In this article, we will discuss how to repair the appearance of the damaged precision granite assembly for an LCD panel inspection device and recalibrate its accuracy.
Step 1: Identify the Damaged Areas of the Granite Assembly
Before repairing the granite assembly, it is crucial to identify the damaged areas that need attention. Examine the surface of the granite plate for any cracks, chips, scratches, or dents that may have occurred due to accidental impact or excessive pressure. Look for any signs of wear and tear which may affect the overall accuracy of the device.
Step 2: Clean the Granite Assembly
Once you have identified the damaged areas, the next step is to clean the granite assembly. Use a soft-bristled brush or a clean cloth to remove any debris or particles from the surface. Next, use a mild detergent and warm water to wipe down the surface of the granite plate. Make sure to dry it thoroughly with a clean cloth before proceeding to the next step.
Step 3: Repair the Damaged Areas
To repair the damaged areas of the granite assembly, you can use a specialized epoxy resin or granite repair compound. Apply the compound to the damaged areas and allow it to dry for the recommended time period. Once it is dry, sand the surface of the repaired areas with fine-grit sandpaper to smooth out any rough patches.
Step 4: Recalibrate the Accuracy
Recalibrating the accuracy of the precision granite assembly is crucial to ensure that it functions correctly. To recalibrate the device, use a precision measurement tool such as a laser interferometer or a dial gauge. Place the tool on the surface of the granite plate and measure its height and flatness. If there are any variations, adjust the leveling screws until the surface is level and flat.
Step 5: Maintain the Granite Assembly
Proper maintenance can help prevent damages to the granite assembly and ensure its accuracy in the long term. Clean the surface regularly and avoid exposing it to excessive heat or pressure. Use protective covers to prevent scratches or dents from occurring.
In conclusion, repairing the appearance of a damaged precision granite assembly for an LCD panel inspection device requires careful attention to detail and precision. By following the steps outlined above, you can restore the appearance of the assembly and recalibrate its accuracy for optimal performance. Remember to maintain the device regularly to avoid further damages and ensure its accuracy for years to come.
Post time: Nov-06-2023