
In modern manufacturing, precision is not just a goal—it’s a requirement. Whether you’re producing aerospace components, medical devices, or automotive parts, measurement accuracy directly impacts product quality, safety, and compliance. This is where granite measuring tools have established themselves as the industry standard for precision measurement and metrology applications.
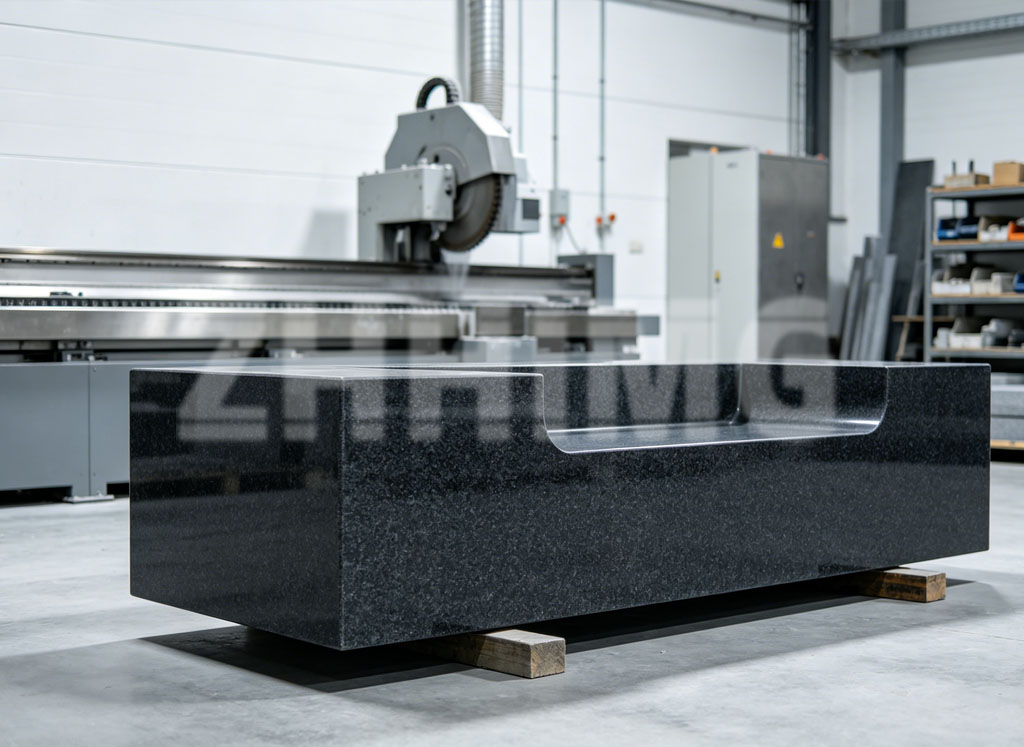
Granite measuring tools, particularly the granite surface plate, provide the stable, dimensionally consistent foundation that makes accurate inspection possible. Unlike steel or cast iron, granite exhibits exceptional thermal stability, minimal thermal expansion, and outstanding wear resistance. These properties make granite the material of choice for metrology laboratories and quality control departments worldwide.
This step-by-step guide will walk you through the proper use of granite measuring tools for accurate inspection. From initial setup through final documentation, we’ll cover everything you need to know to achieve reliable, repeatable measurements that meet international standards.
Preparation: Setting the Stage for Precision
Before any measurement begins, proper preparation is critical. Rushing this stage often leads to avoidable measurement errors.
Environmental Conditions
The first consideration is your measurement environment. According to ISO 17025 and ASME B89.3.7 standards, temperature control is paramount. Maintain a standard temperature of 20°C (68°F) with a tolerance of ±1°C. This ensures both granite measuring tools and workpieces remain dimensionally stable during measurement.
Temperature variations cause thermal expansion or contraction. A 1°C change in a 100mm steel part causes approximately 0.0011mm of dimensional change—enough to cause rejection in precision applications. Ensure your measurement area is free from drafts, direct sunlight, and vibration sources such as nearby machinery or foot traffic.
Tool Inspection and Cleaning
Before starting any inspection:
- Visually inspect all granite measuring tools for chips, cracks, or surface damage
- Check auxiliary tools (height gauges, micrometers, indicators) for proper function
- Verify all instruments have valid calibration certificates
- Ensure the granite surface plate is within its calibration period (at least annually per ISO 10360)
Cleanliness is essential. Even microscopic particles can cause measurement errors. Follow this protocol:
- Blow off loose debris with filtered compressed air
- Wipe granite surfaces with 90%+ isopropyl alcohol or specialized cleaner using lint-free wipes
- Use straight-line motions rather than circular wiping
- Allow surfaces to air-dry completely before proceeding
Never use acetone, harsh abrasives, or steel wool on granite surfaces.
Step 1: Setting Up the Granite Surface Plate
The granite surface plate is the foundation of all accurate measurements. Proper setup ensures the plate itself is stable and correctly positioned.
Correct Placement and Leveling
Position the granite surface plate on its dedicated stand with vibration-dampening feet. Ensure sufficient clearance around all sides for operator movement.
Proper leveling eliminates gravitational errors. Use a precision electronic level with minimum 0.02mm/m accuracy:
- Place the level at the center of the plate
- Adjust support feet until level reads zero in both X and Y axes
- Verify levelness at each corner and mid-point
- Record leveling values for quality records
After positioning, allow the plate 24 hours to acclimate to room temperature if moved. Check temperature at multiple points across the surface to ensure no thermal gradients exist.
Step 2: Workpiece Preparation and Placement
How you prepare and place the workpiece directly affects measurement accuracy.
Cleaning and Thermal Stabilization
Clean the workpiece using the same procedure as the granite surface:
- Remove all burrs, sharp edges, and loose chips
- Clean all contact surfaces with isopropyl alcohol
- Ensure no residual coolant, oil, or cutting fluid remains
Thermal stabilization is critical and commonly skipped:
- Place the cleaned workpiece on the granite surface plate
- Allow 15-30 minutes for thermal equilibrium (longer for large parts)
- Use clean gloves—never handle with bare hands
- Verify workpiece temperature matches the plate temperature before proceeding
Correct Placement Technique
Lower the workpiece gently onto the granite surface—never drop or slide it. Ensure full contact between the workpiece datum surface and the granite plate. Use three-point support for large or irregularly shaped parts, avoid clamping forces that could cause deflection, and position the part so measurement features are accessible.
Step 3: Measurement with Height Gauges and Micrometers
With proper foundation established, you’re ready for precision measurement.
Height Gauge Technique
- Zero the height gauge on the clean granite surface before starting
- Use the built-in spirit level to ensure vertical alignment
- Lower the measuring stylus slowly until light contact is made
- Apply consistent measuring force of 0.5-1N to avoid workpiece deformation
- Take multiple readings at different locations
- Record each reading immediately
- Return the stylus to a safe position between measurements
Outside Micrometer Technique
- Clean the micrometer anvil and spindle faces
- Zero and verify accuracy
- Hold properly—thumb on thimble, fingers on frame
- Approach slowly, using ratchet stop for consistent force
- Take three measurements at different positions
- Average readings for final value
- Clean and return to case when finished
Always measure in the same direction to eliminate backlash, avoid parallax error by viewing scales directly from above, and record actual readings—not expected values.
Step 4: Geometric Inspection with Granite Squares and Straightedges
Granite squares and straightedges enable inspection of geometric tolerances including flatness, squareness, and straightness.
Using Granite Straightedges
- Clean both the straightedge and workpiece surfaces
- Place across the feature to be inspected
- Use feeler gauge or indicator to measure the gap
- Take readings at multiple points along the length
- Record maximum deviation as straightness error
- Reposition for cross-direction measurements
Using Granite Squares
- Ensure the square’s base sits firmly on the granite surface plate
- Bring the vertical face into light contact with the workpiece
- Use an indicator to measure the gap along the vertical edge
- Take readings at multiple heights
- Calculate total deviation across measured length
- Compare to specified squareness tolerance
Never force the square against the workpiece, maintain consistent contact pressure, and allow thermal stabilization time for the granite square as well.
Step 5: Recording and Validating Measurement Results
Accurate measurement isn’t complete until results are properly recorded and validated.
Data Recording Best Practices
Create a standardized measurement report including:
- Date and time of measurement
- Environmental conditions (temperature, humidity)
- Equipment identification and calibration status
- Operator identification
- Part identification number and revision
- Features measured with actual values and tolerance specifications
- Pass/fail determination
Repeatability Verification
According to metrology best practices:
- Take minimum three measurements for each critical feature
- Calculate the range (max – min) of readings
- Verify range is within acceptable limits (typically 10% of tolerance)
- Investigate cause if readings vary significantly
- Re-measure after correcting identified issues
Identify all potential error sources (temperature variation, instrument accuracy, operator technique), quantify each component, and document expanded uncertainty per ISO 17025 requirements.
Step 6: Post-Measurement Maintenance and Care
Proper care extends equipment life and maintains accuracy.
Post-Use Cleaning and Storage
- Remove workpiece from the granite surface plate
- Clean entire plate surface with isopropyl alcohol and lint-free cloth
- Remove debris from auxiliary tools
- Check for accidental damage
- Cover granite surface plate with protective dust cover
- Return all tools to designated storage cases
- Store granite squares and straightedges vertically in purpose-built racks
Regular Maintenance Schedule
- Daily: Visual inspection and surface cleaning
- Weekly: Full deep cleaning and condition check
- Monthly: Level verification and environmental monitoring review
- Quarterly: Complete inspection of all granite measuring tools
- Annually: Formal calibration per ISO 10360 standards by accredited laboratory
Common Mistakes and Best Practices
Even experienced technicians can fall victim to common measurement errors.
Temperature Effects
Mistake: Skipping thermal stabilization. Best Practice: Always allow 15-30 minutes minimum, use temperature monitoring, never measure immediately after bare-hand handling.
Contact Force Control
Mistake: Excessive measuring force. Best Practice: Maintain consistent 0.5-1N force, use ratchet mechanisms, verify force periodically with force gauge.
Workpiece Support
Mistake: Improper support causing deflection. Best Practice: Use three-point support, avoid overhang, verify no clamping distortion.
Environmental Vibration
Mistake: Measuring near vibration sources. Best Practice: Use vibration isolation, measure during low-activity periods, monitor vibration levels.
Operator Technique
Mistake: Parallax error reading scales. Best Practice: View directly from above, use digital instruments when possible, verify critical readings with second operator.
Troubleshooting Guide
When measurements don’t make sense, systematically work through these steps.
Measurement Inconsistency
If repeated measurements differ: Check temperature stability, verify plate leveling, inspect for workpiece movement, check instrument function, verify clean surfaces, eliminate vibration sources.
Systematic Error
If all measurements show consistent bias: Zero check instruments, verify calibration, check for thermal effects, inspect granite plate for damage, verify datum surface cleanliness.
Sudden Loss of Accuracy
If previously reliable equipment shows errors: Perform visual inspection, check leveling, verify environmental conditions, inspect for recent equipment movement, cross-check with reference standards.
Resolving Discrepancies
When two methods differ: Verify both follow proper procedure, check calibration status, confirm environmental conditions, compare operator techniques, use calibrated reference artifact for comparison.
Conclusion
Mastering granite measuring tools for accurate inspection is both science and art. The procedures outlined in this guide provide the foundation for reliable, repeatable precision measurement meeting ISO 17025 and ASME B89.3.7 standards.
Key takeaways:
- Proper preparation including environmental control and cleanliness is 50% of accurate measurement
- Thermal stabilization cannot be skipped—allow 15-30 minutes for parts to reach equilibrium
- Consistent measuring force (0.5-1N) prevents workpiece deformation
- Annual calibration per ISO 10360 is essential for maintaining accuracy
- Multiple readings and repeatability verification build confidence in results
- Proper maintenance extends equipment life and preserves accuracy
For organizations serious about precision measurement, implement formal training programs, establish written procedures, maintain comprehensive calibration records traceable to national standards, invest in environmental monitoring, and conduct regular internal audits.
Granite measuring tools represent a significant investment in quality. When used correctly following these procedures, they provide the measurement accuracy and reliability that modern manufacturing demands. In metrology, the only acceptable shortcut is following proper procedure every time.
Post time: May-08-2026